Dimensions with the Railway closed:
- 8107mm long
- 2105mm deep
- 5002mm wide
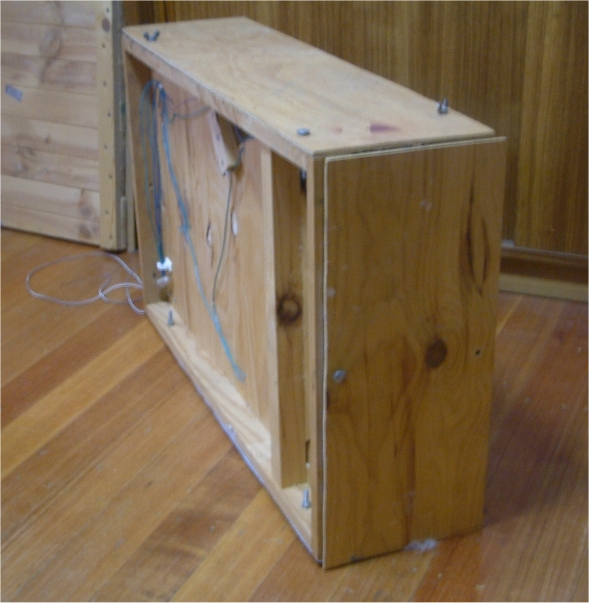
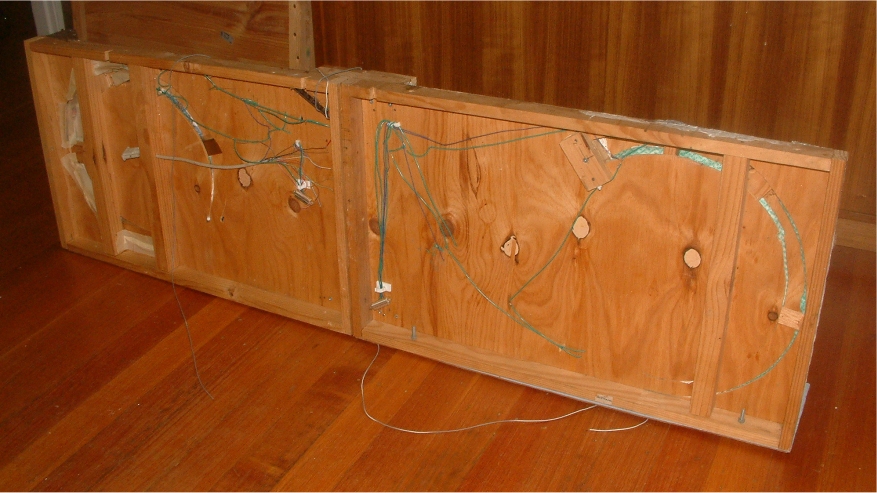
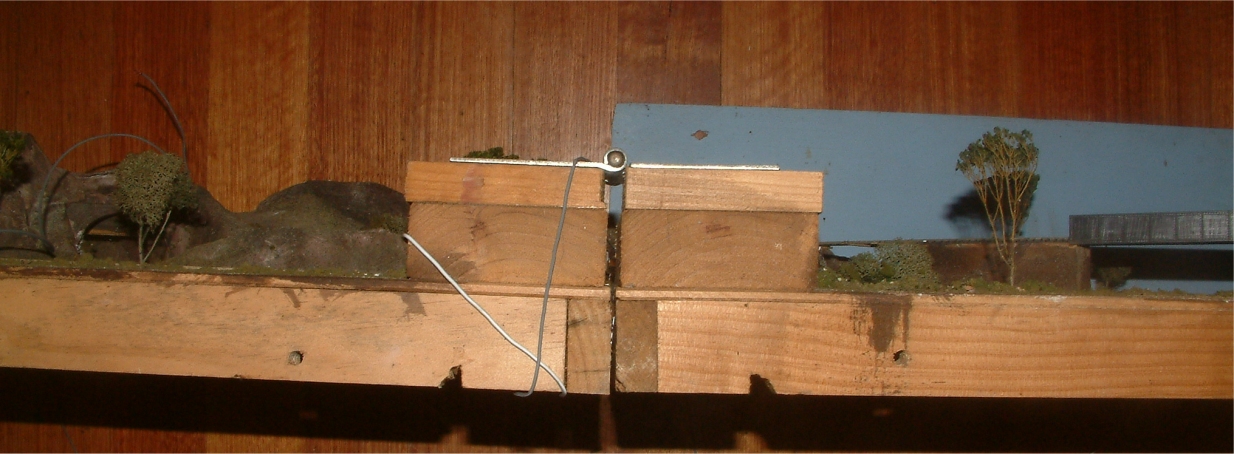
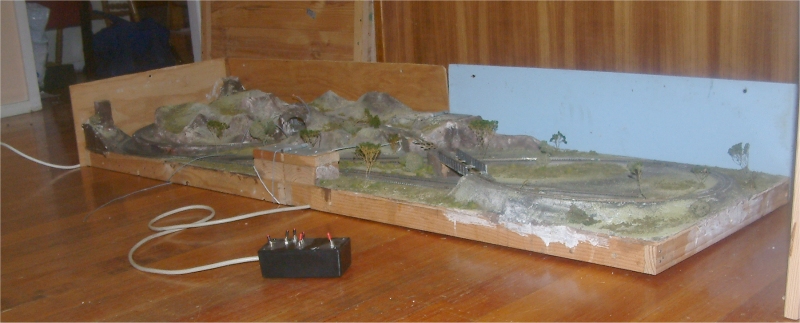
It is a simple construct - two baseboards hinged together. Note that the hinged section is not hinged at the baseboard level - that would stop any scenery. So I glued on two identical blocked of wood and some more untill I got the desired seperation.
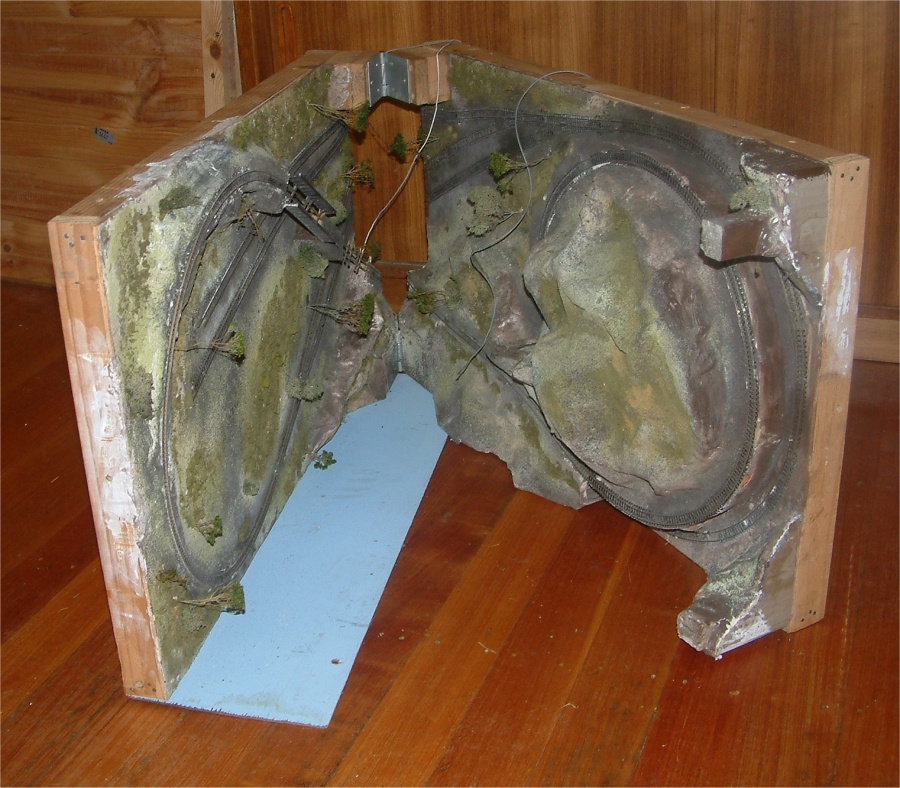
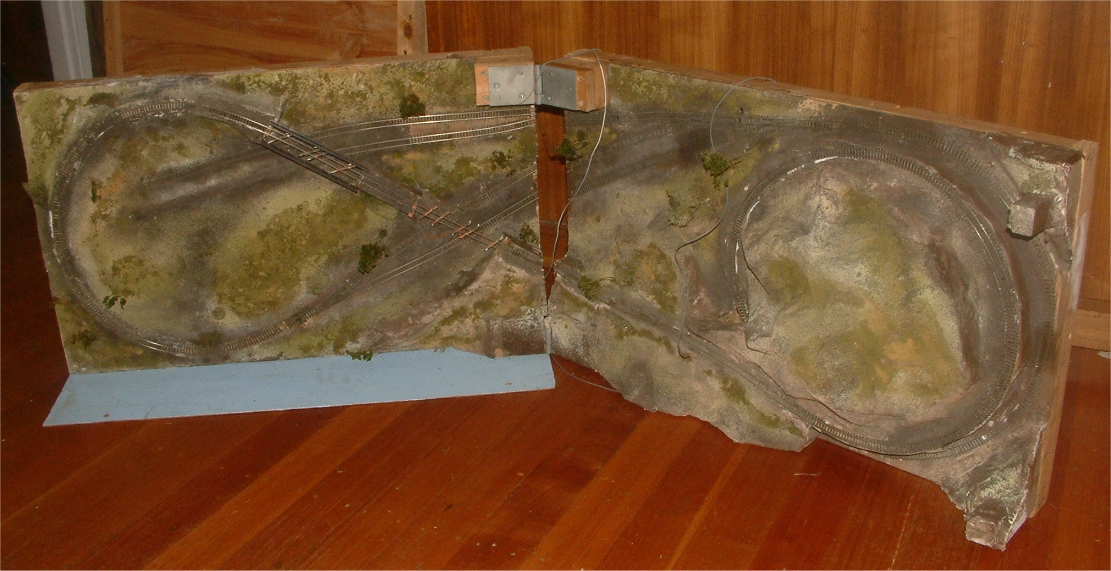
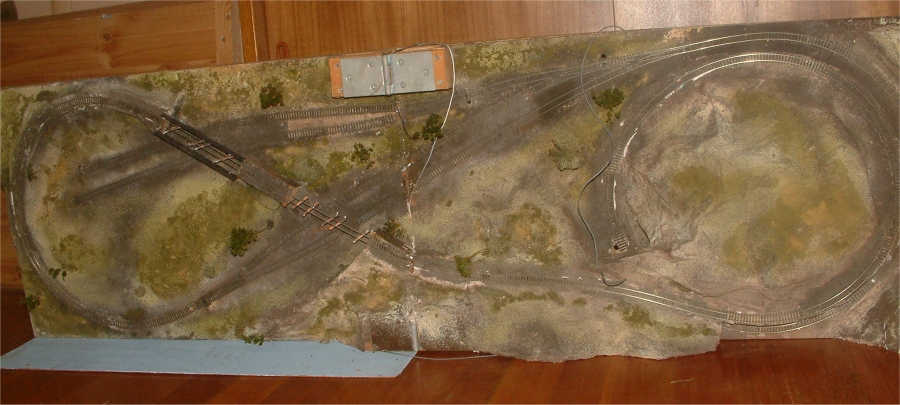
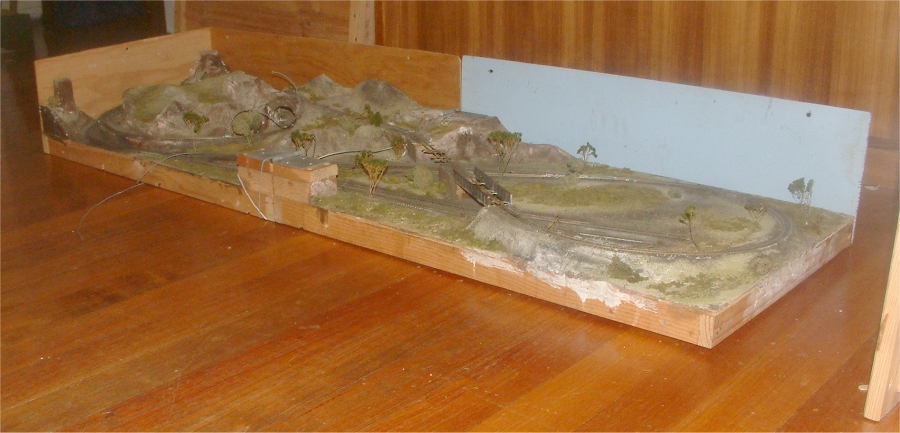
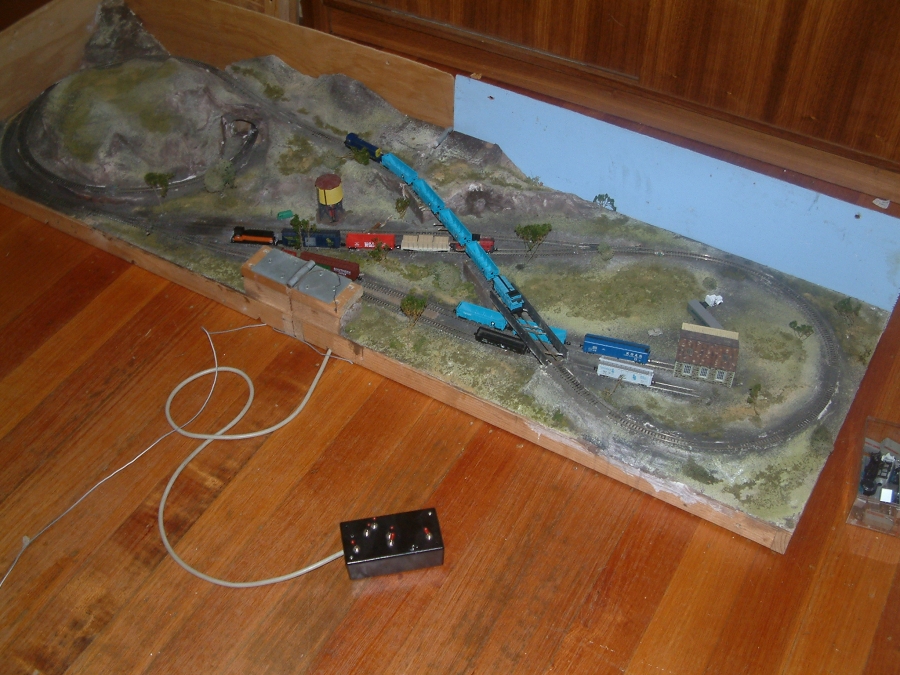
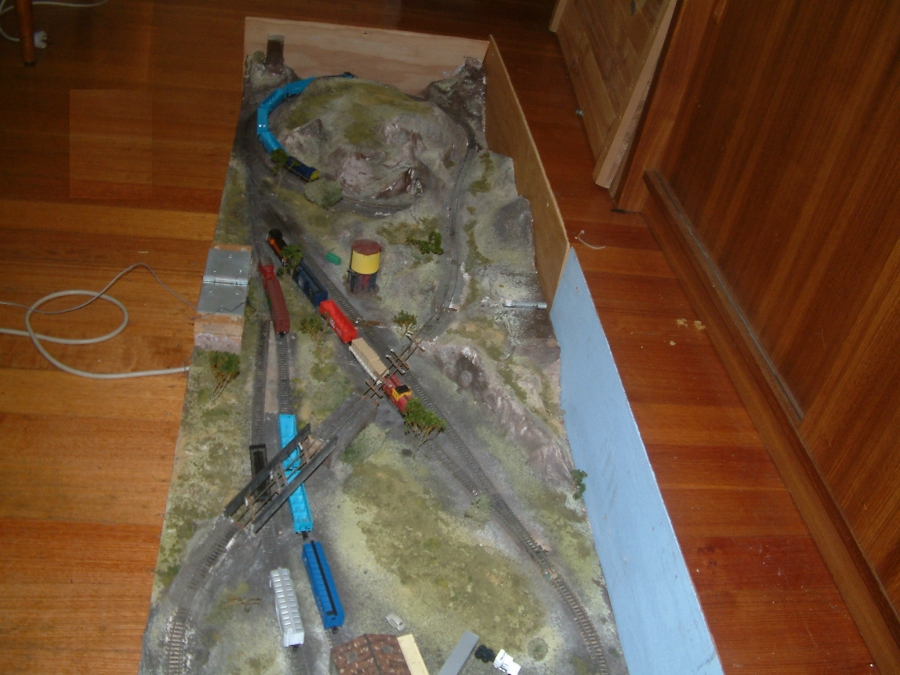
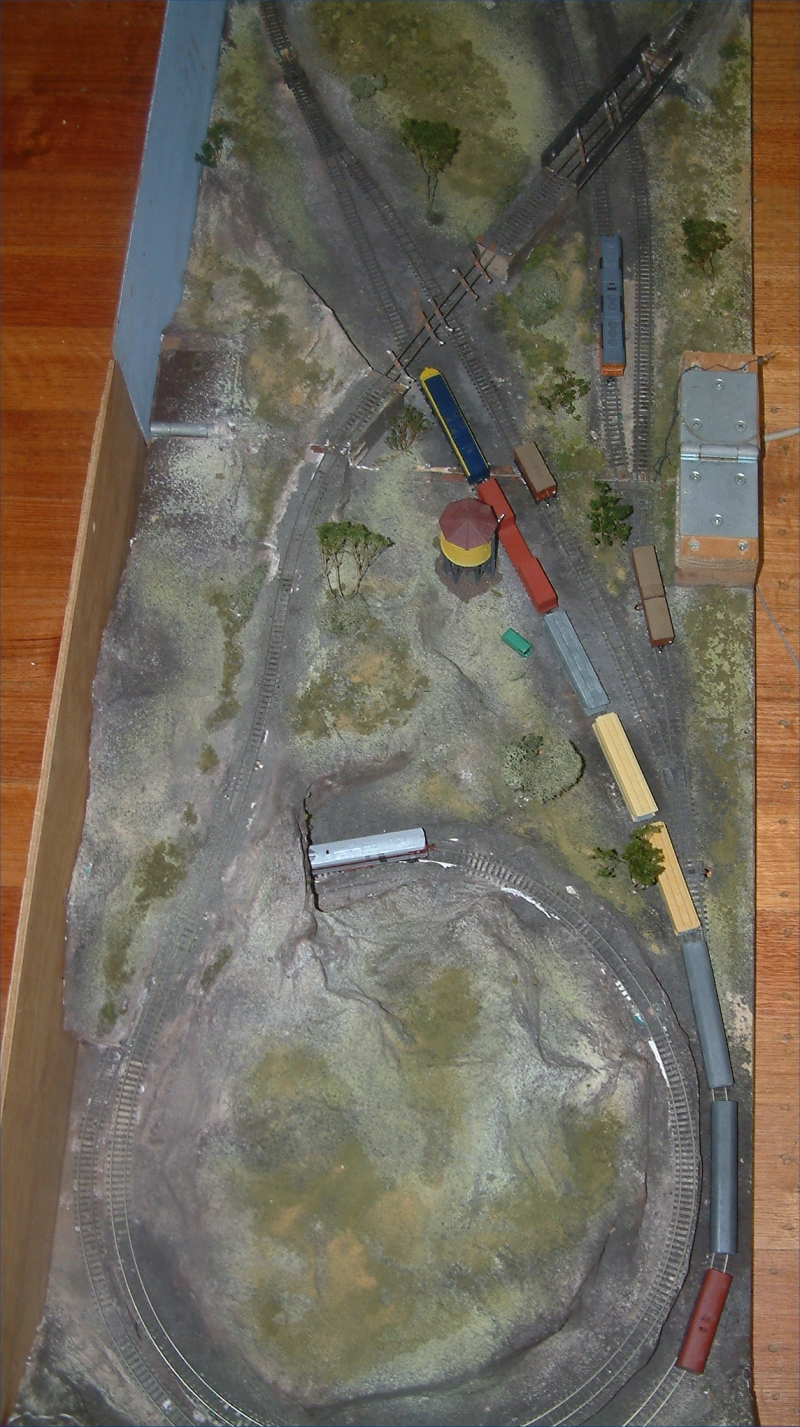
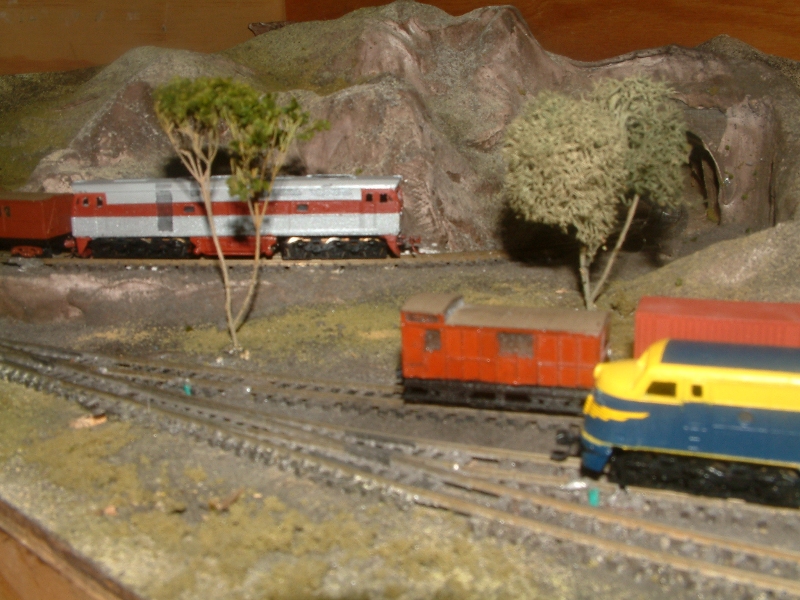
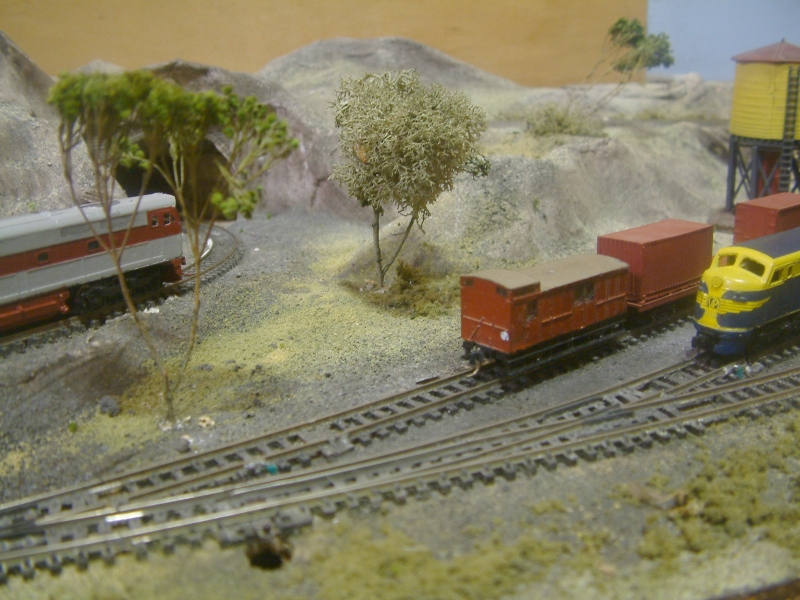
I then worked out my trackplan - a simple figure 8 with a lop at one end and simple staion diagional with a passing loop and two deadend sidings. even in "N" the grades are steep, the curves are sharp - but it will be w working railway !!!
I had at all time to remember to conserve height. With the baseboards closed I didn't want too much to be removeable.
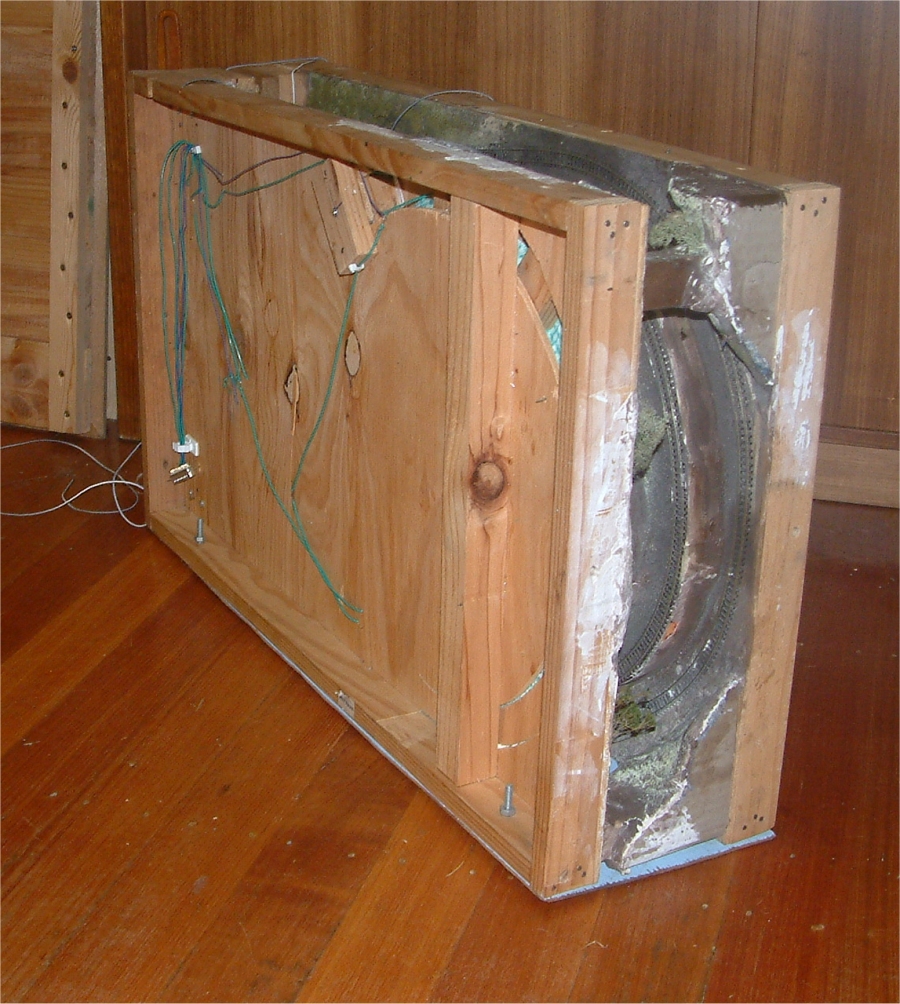
Now I didn't bother having a lock to make the two baseboards rigid - I usuall have laid it on a table or a flat floor to use. for the grades I cookie cut the baseboard where possible. for the brig section I found bits of wood that I glued on the baseboard for the upper level , the bridges are very low! With the track down I then started on the scenery.
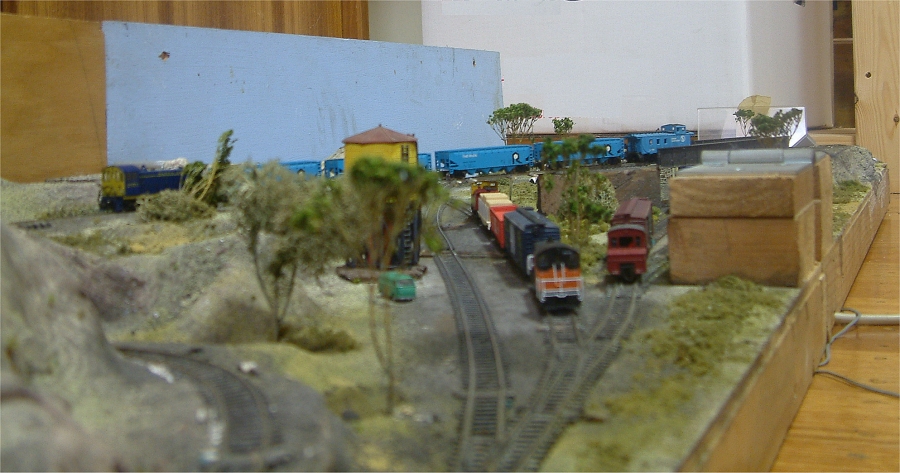
You need some planning fo ryour scenery. On one side wher eI had a hill I had to keep the opposite side low. By building the scenery I worked it out. Therefore there are a few trees protected when the layout shuts up. The moutain also misses the bridges as well. You will notice one bridge is missing - it did have a issue when closed, and is awaiting new bridge sides.
The scenery is not complete - intendtionally. I built it to work on when on holidays, I it has not gone on every holidays !
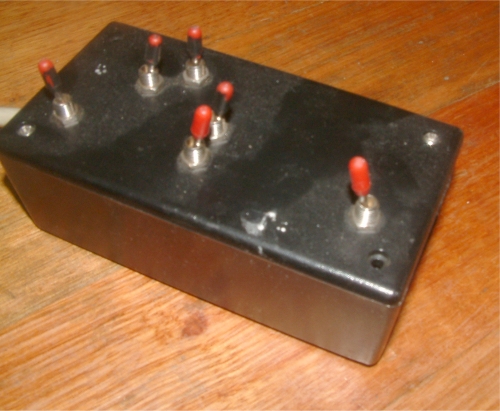
Control is a small box with the approproate switches. At the moment the points are manually thrown, though I have provided for motor operation if I do it. All electrical blocks are on/off as you woul only have one loco running at any one time.
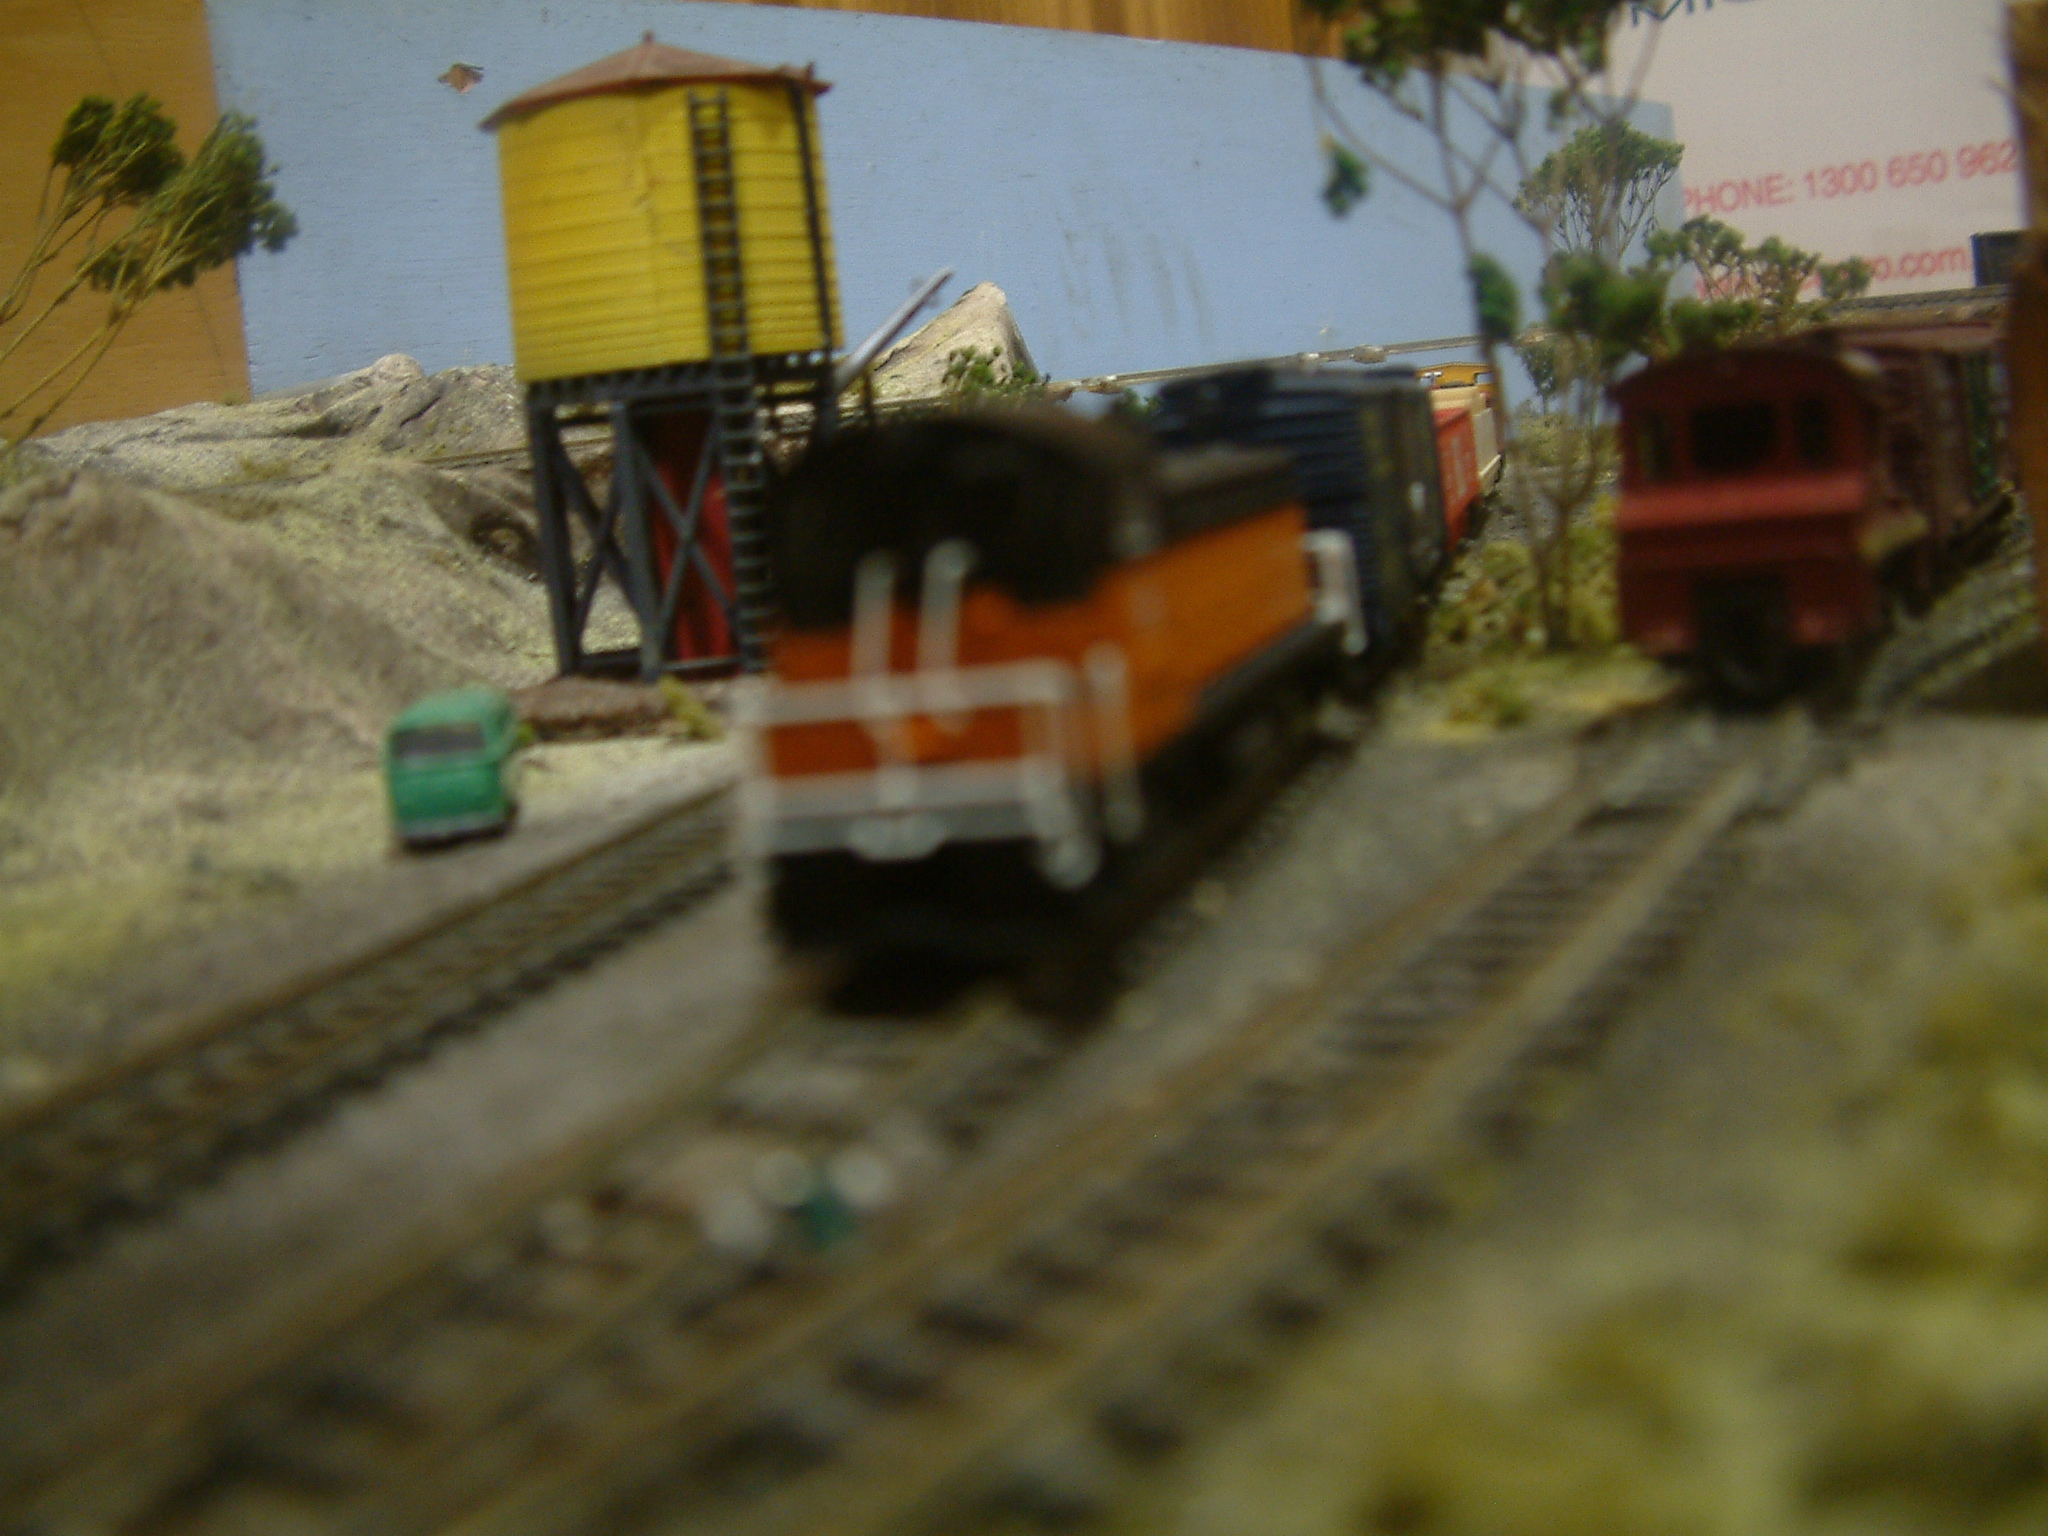
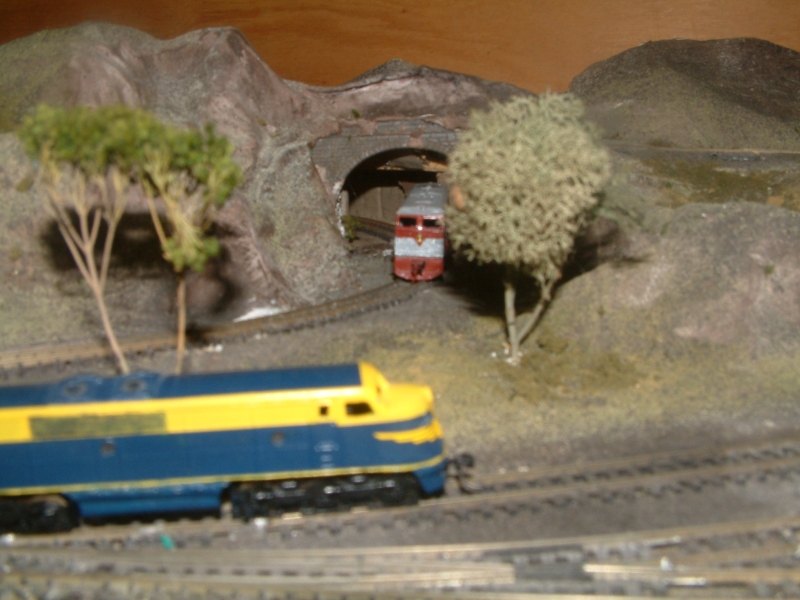
Loco are a moltly collection, and anything from Thomas - the SW9 SW7 from lifelike rult the railway. Other locos seem to work, but those switchers are great. I have a Arnold one as well.
By the photos you can see I have staged some shots, soem with the american stuff I have, and a few Aussie shots as well. Scenery wise I want Aussie buildings. That hinge nex tto the track I hope to disguise with a large building/factory.
To protect the layout I bolt on wooden covers for all four exposed sides. All I need to do is bolt a good handle on so I can carry it easily. The covers can serve another purpose as well, the long sides can be bolted to the back and the inside painted as a backdrop. One could also put on thin covers over the wiring as well making a complete box.
Hopefully this shows you can build a railway for small situations. This one folds up, protecting the layout when moved. It ha been to Tamania and Brisbane.
Lesson learned would be it is small and compact. Dare I say it could have been a HOn30 ( HOn 2 & 1/2) gauge or "Z" depending on your budget and space.
That doesn't mean this wouldn't work in HO. I am planning a three baseboard version, to be narrower but longer to be a shunting layout built along the same lines. Except I would have a seperate staging turntable as well.
But that will be another story........