| Update 25th December 2015 |
||
|
By the time you read this, Christmas will have gone , and we will be in 2016. But this was written on that day, but unable to be uploaded. So a belated Merry Christmas and Happy new year ! I suppose it has been a while, with a lot to catch up on. But first here's my end of year youtube update: Here is a link to all the movies/video I shot this year. Meanwhile progress marches on. Lets get on with the details.... |
||
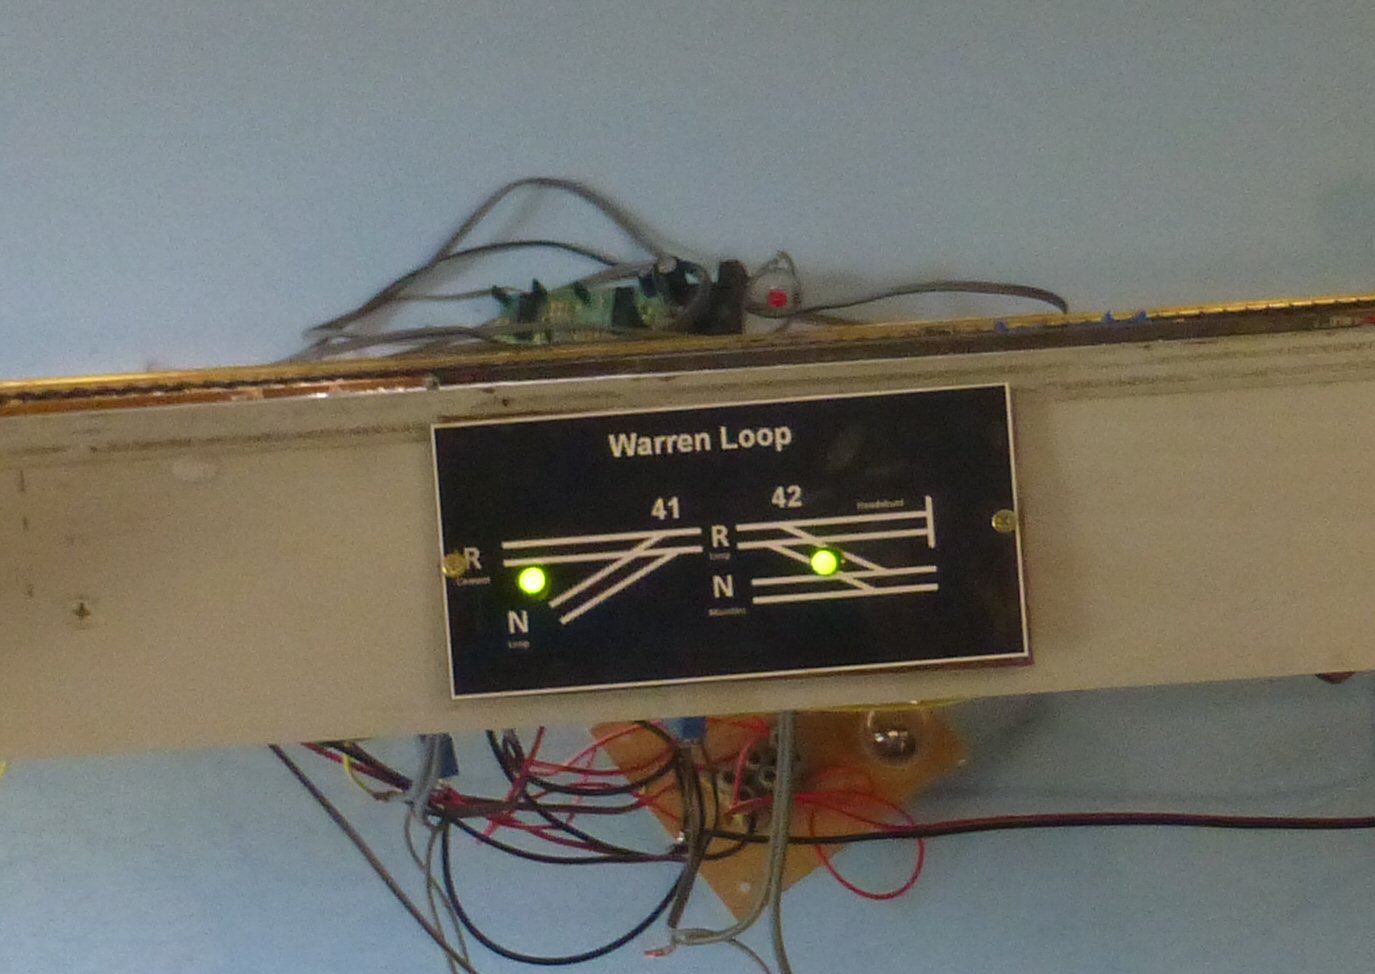
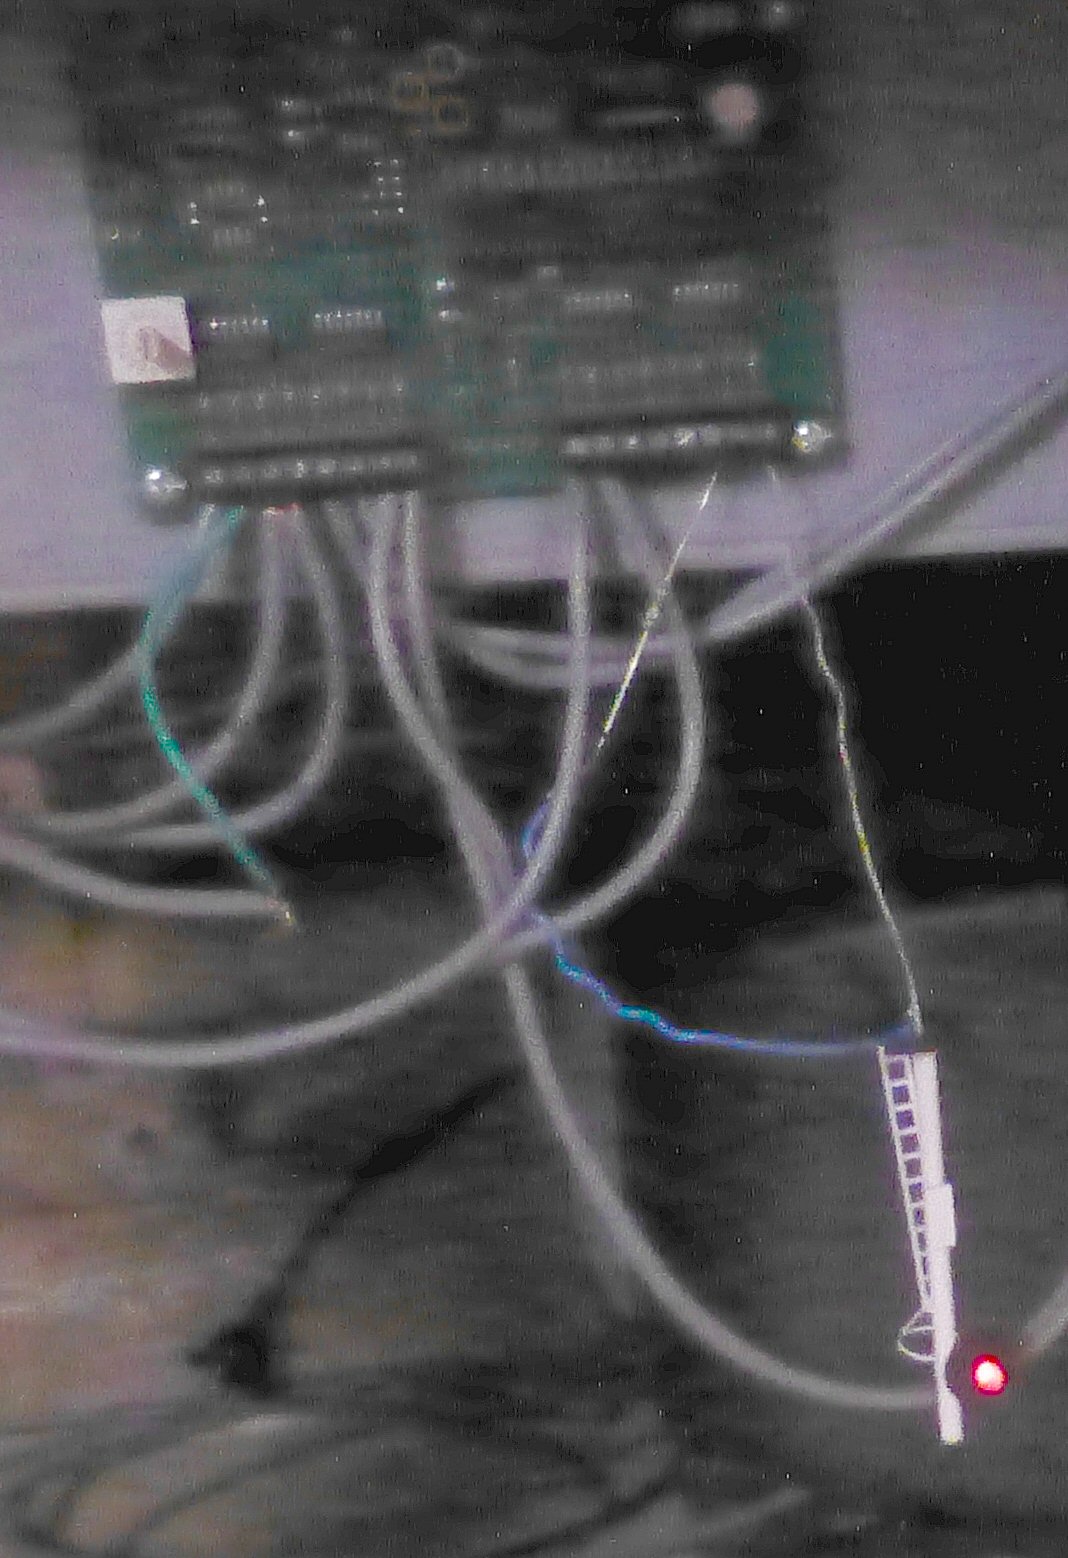
The point indicator LED's seem to work very well. More will be going in when I feel like it. Meanwhile here's a Youtube segment I did on it. |
||
 Roger Lloyd has been to two working beed at least since I last reported to you. He has been very busy in a number of areas.
He has finished the basic wiring of the lower staging yards. The project was running a common wire for the outside rail and individual lines
for each inner rail to allow for track circuiting eventually. Roger fashioned small terminal blocks of circuitboard and positioned
them around the loop.
Roger Lloyd has been to two working beed at least since I last reported to you. He has been very busy in a number of areas.
He has finished the basic wiring of the lower staging yards. The project was running a common wire for the outside rail and individual lines
for each inner rail to allow for track circuiting eventually. Roger fashioned small terminal blocks of circuitboard and positioned
them around the loop.
This now powers all the loops. To realise this I have wired the points as well so train can run out at the departure end. - I still need 6 tortoise motors to complete the yards, so for now the arrival 1-4 work, but not 5-8. The departure side can all be used, with 4 points manually thrown for now. 

|
||
|
Roger has been "helping" and ensuring my trackwork gets up to scratch. Two areas needed initial looking at, one
area always saw the XPT derail. So Roger who is known for good reliable track had a quick look and simply stated the curve was leveled all over
the place, canting, level excessive cant. So that night I ripped the track up to two places Roger said was ok, then cleaned the roadbed.
In between his visits I did buy new RTR code 83 flexitrack, but It was too high to fit right in where the old hand layed track went, on account of the thin sleepers used. So I decided to make a new track to go in. using thin sleepers I made the track but it was not glued at all. On his next visit we checked and used this track, making levelling shims to get the entire travk level. We glued the track down and the shims down - the XPT goes over perfectly now at speed. I then made some dummy balse sleepers, glued them in then painted the track brown. Now it looks as if I never did anything at all. |

|
|
The next month, December actually, Roger was over and I mentioned another trouble spot. It is at the down end of eyeseeh, 77 points. He quickly deduced it was
a depression in the track just at the blades. So the point was watered and prised off, and left to be repaired, we cleaned the roadbed,
then packed a riser underneat until the depression was gone.
Roger then took the point and fixed it with new sleepers. The next day I levelled it up and glued back in place. the tortoise mount was ok and all I needed was a new slightly longer wire. It's back in service as well, but needs false sleepers added. 
|


|
|
 |
 |
 |
| Eyeseeh with all lights off except for the normal room lights. | Eyeseeh with ALL lights on. | Only the LED lights are on. |
LED LIGHTS Well for some months i have had a strip of cool white LED over Warren Loop, which PaulGillard supplied to try. I have thanks to Paul Gallacher and GiGi two five meter led strips above Eyeseeh. Warm white they are taped up for the moment. It does show that it is the way to go and the lighing is good even with the one row of LED's. Some areas will need two or more areas/strips of LED's, EG above Broughtin and above Eyeseeh, to light up the silo and the farmland of the top level. To do this the upper level needs It's fascia started, and it will not be in line witht he upper level, it will be more into the ailseway so the lights can give good coverage. So , still a lot of wood work to go, this part is on hold as it's one area of $$$$ I will not spend for now. |
||
 |
 |
 |


|
||

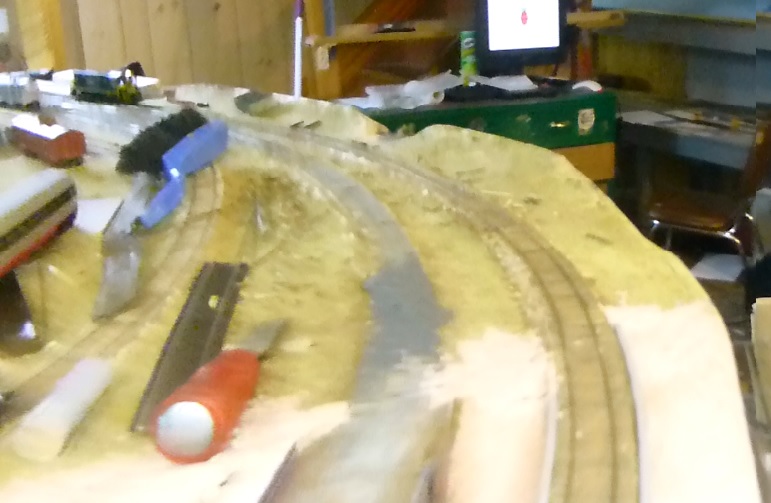
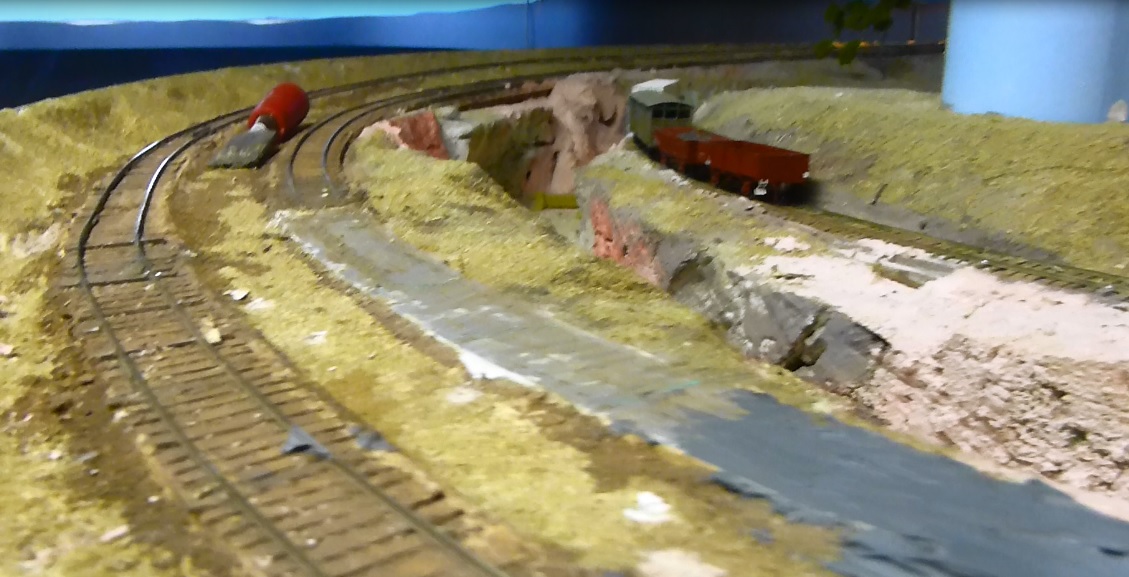
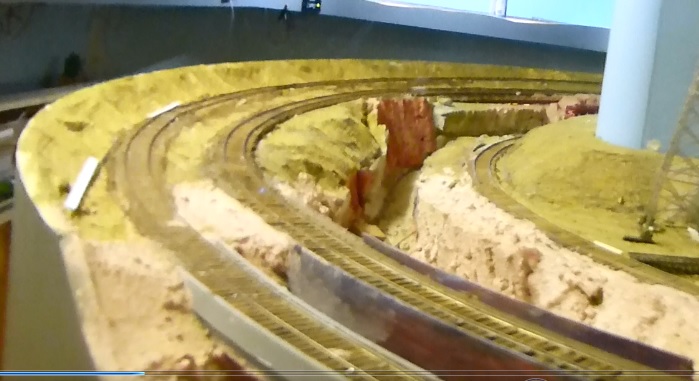
The bridge and the valley this year has a little work done, the basic road down one side is in and waiting for more work. |
||
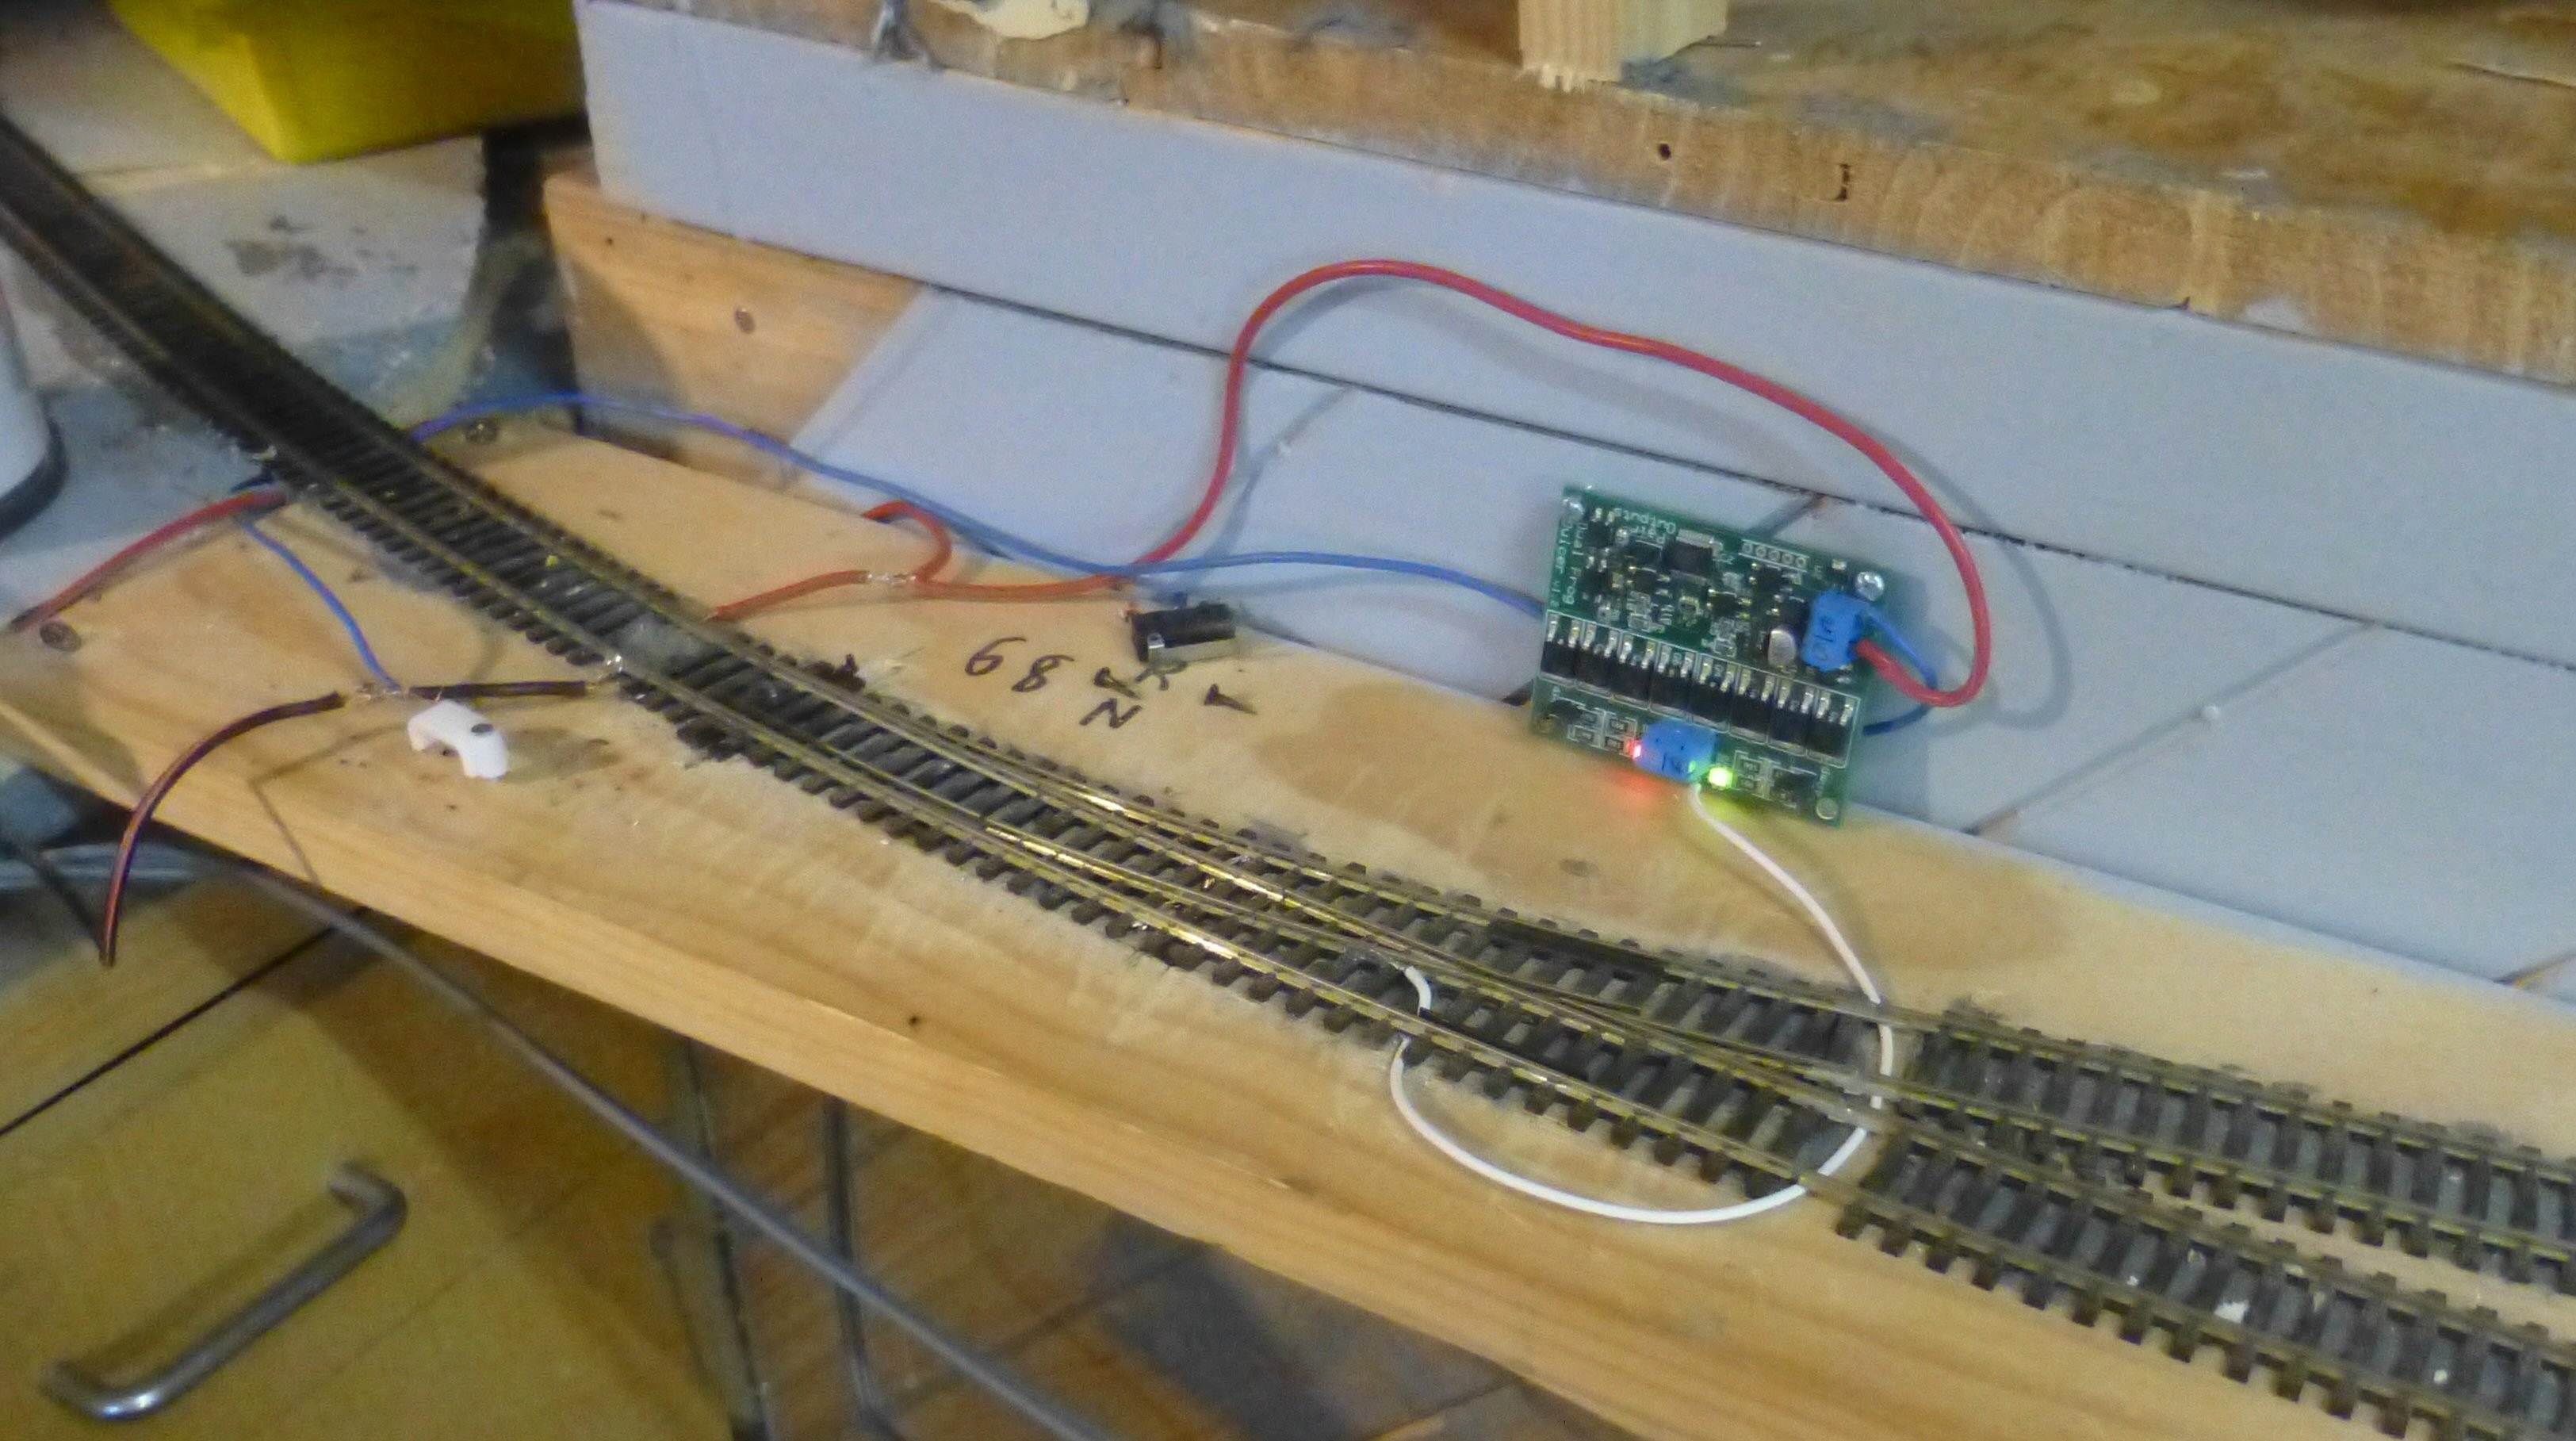 I have one Tam Valley duel frog juicer installed recently as well, but only running one problem point.
this point had a microswitch on the throwbar but it never worked well. So it was a good
place to try this unit. It works perfectly. I have a 6 frog version as well and keep on wondering where to use it.
I have one Tam Valley duel frog juicer installed recently as well, but only running one problem point.
this point had a microswitch on the throwbar but it never worked well. So it was a good
place to try this unit. It works perfectly. I have a 6 frog version as well and keep on wondering where to use it.
Paul Gallacher had a ugly signal he wanted to see working, so I hooked it up to the switch 8 and programmed it as a point, and it goes from green to red To me it looks too small and the mast too thick. San Matao signals are on my wish list ! |
||
 |
 |
 |
Eyeseeh has only really seen the LED as the only real improvement. I am stil waiting on funds to do something about the required doubleslip. Once secured the rest of the yard can proceed. |
||
 |
 |
 |

The control closet has one new electronic circuit breaker in place. And on the floor is a power supply solely for hte PMG relays in Broighton. In 2016 power supplies for the lighting may start to appear. |
||

The Broughton area more or less has see the most effort this year. Gradually this staion is seeing tracklaid, connected, poin motors added, wiring done. But there is a lot to go. At the momen there is a short in the original Broughton yard. Until I find it I cannot continue wiring it. In this area as mentione are PMG relays acting as point motors. Still two crossovers to motorise. A third through road is to be laid and some sidings to add, and of course the loco depot needs to be contionued. The termination board for the loco area of Broughton has been fun , and a lot of wiring, unwiring has occured. Lots of unexpected shorts have made this 'fun'. Hope to use some blade and socket connectors from the auto world to make this easier. 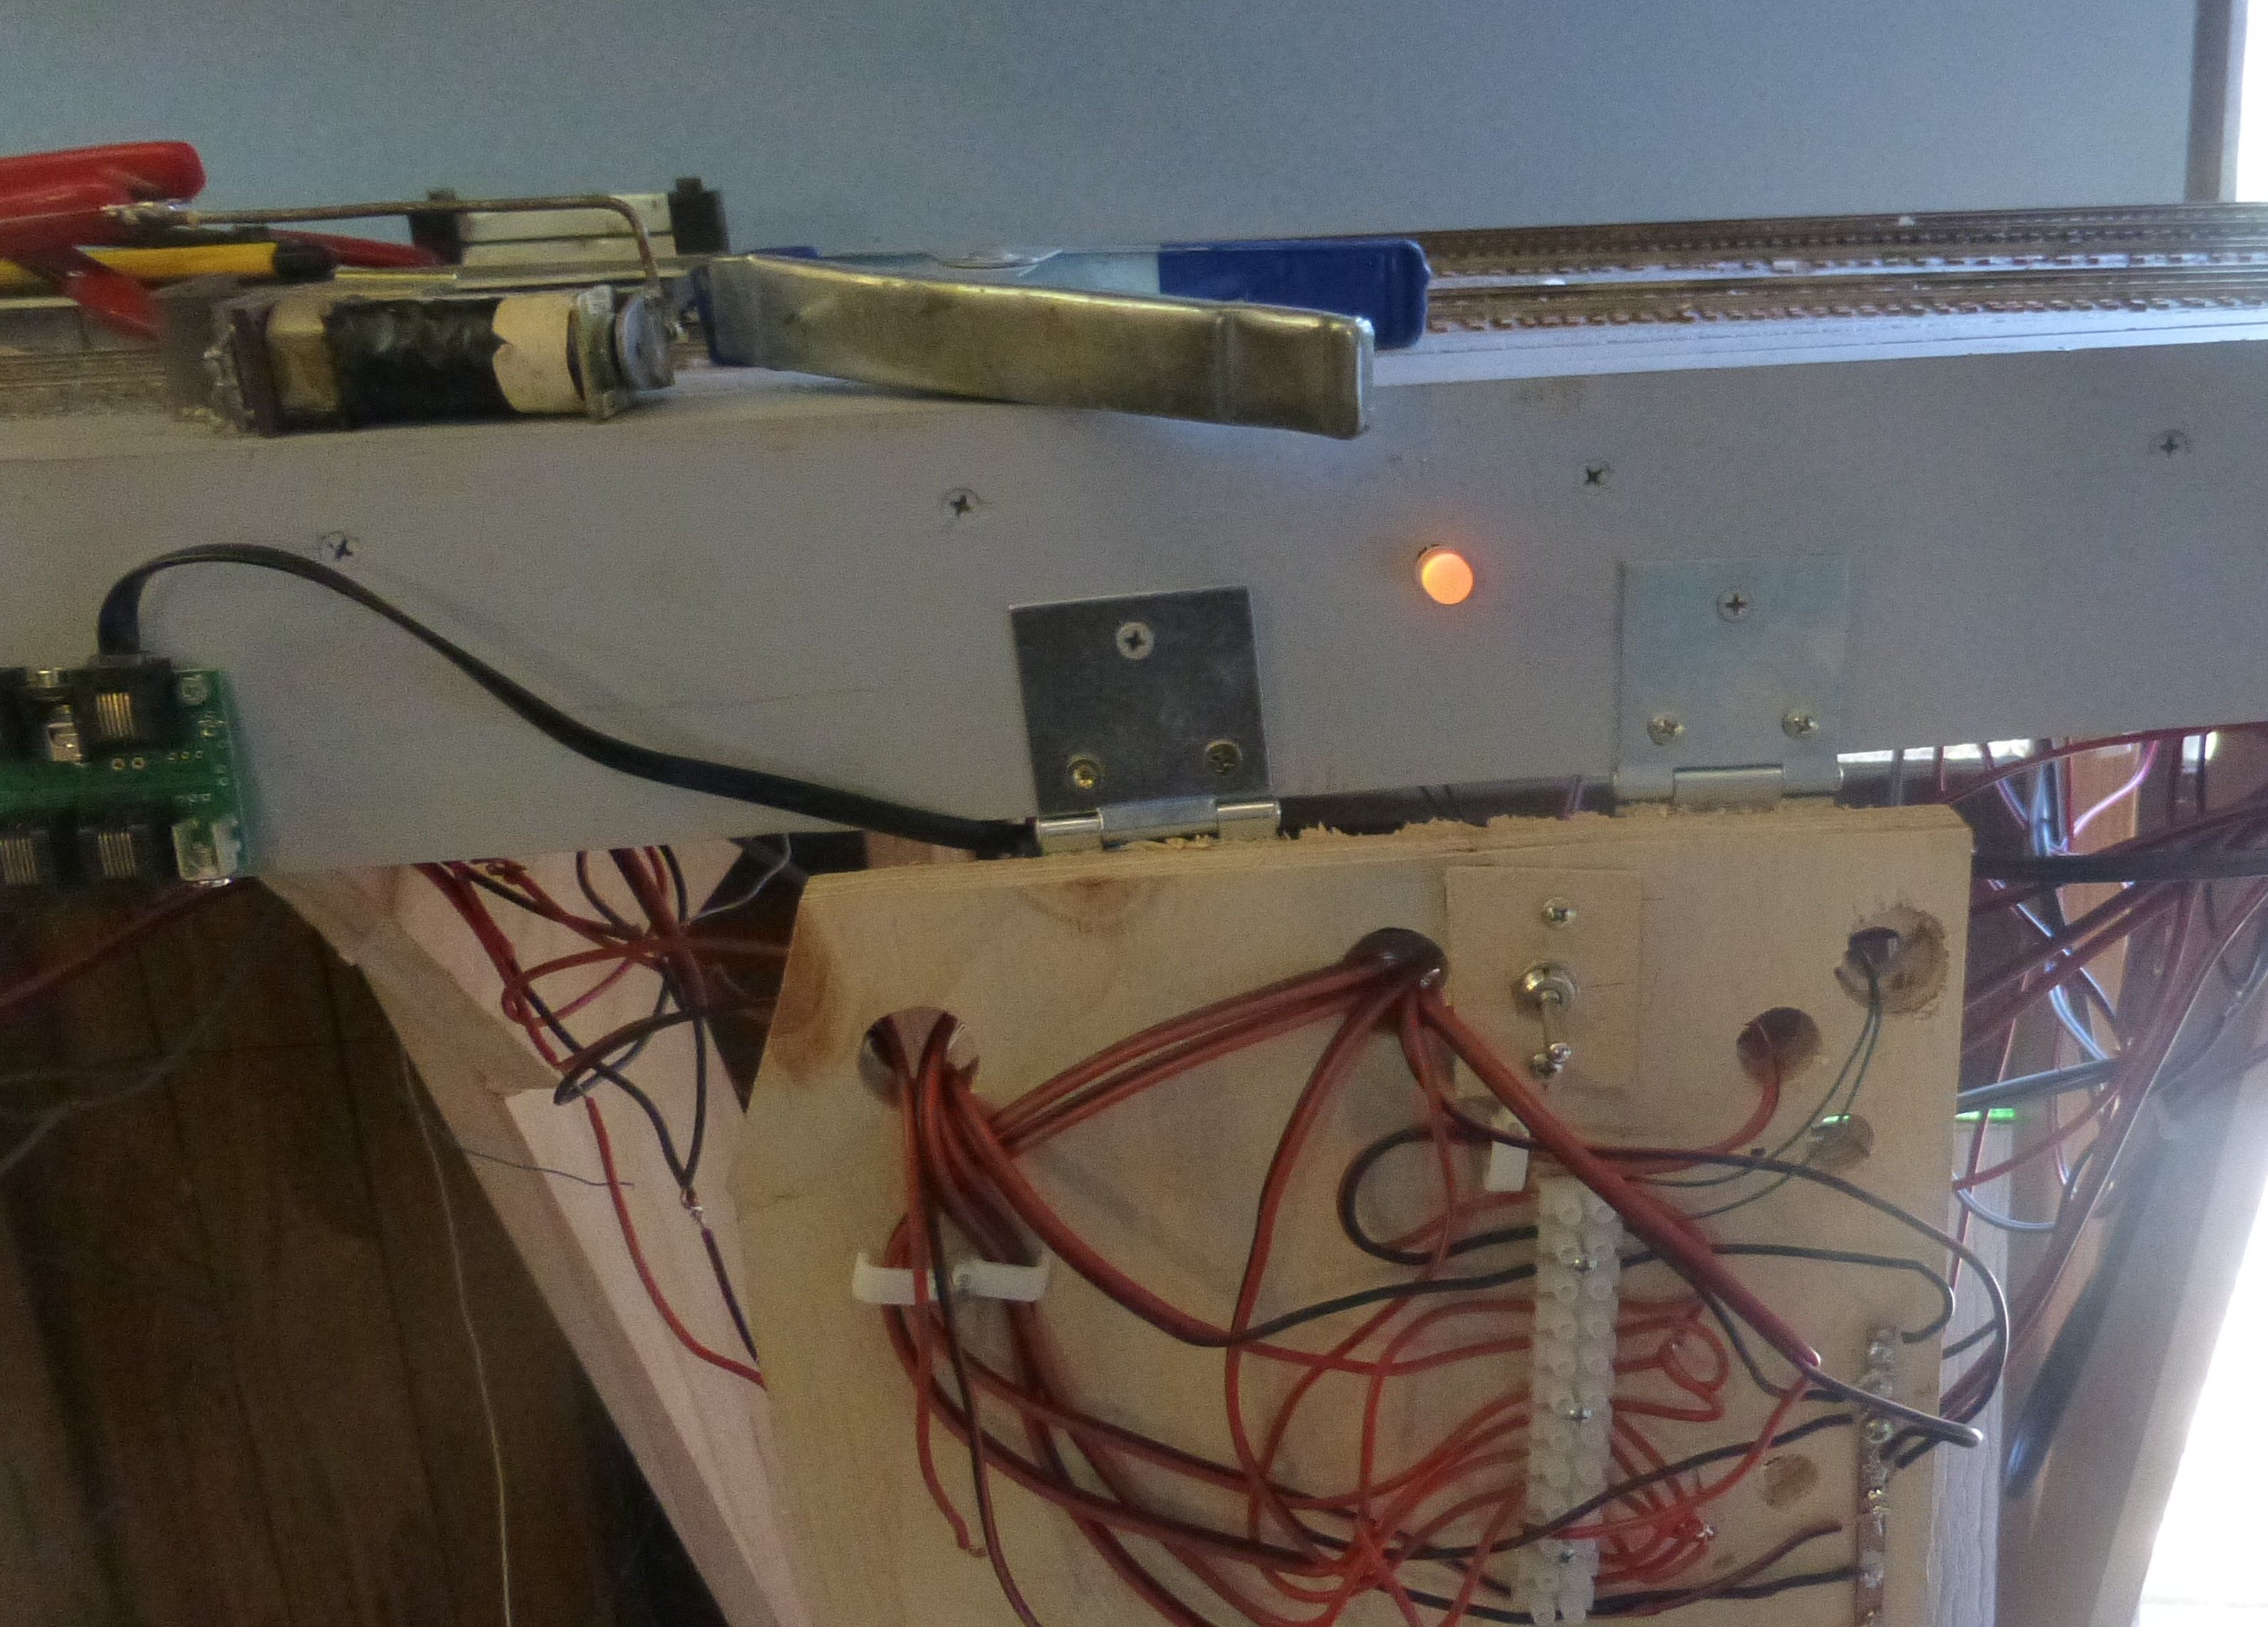
|


|
|
 44 points, which are the extry/exit to the goods yards at Broughton have caused some drama this year. They have seen some work done
to improve them.
44 points, which are the extry/exit to the goods yards at Broughton have caused some drama this year. They have seen some work done
to improve them.
|
||


In a small effort to get organised, I have started a shadowless shadowboard. In that I have not draw up any shadows for the tools when I should so others know where to put the tools. It does help a lot to find tools even so. |
||
| |
||
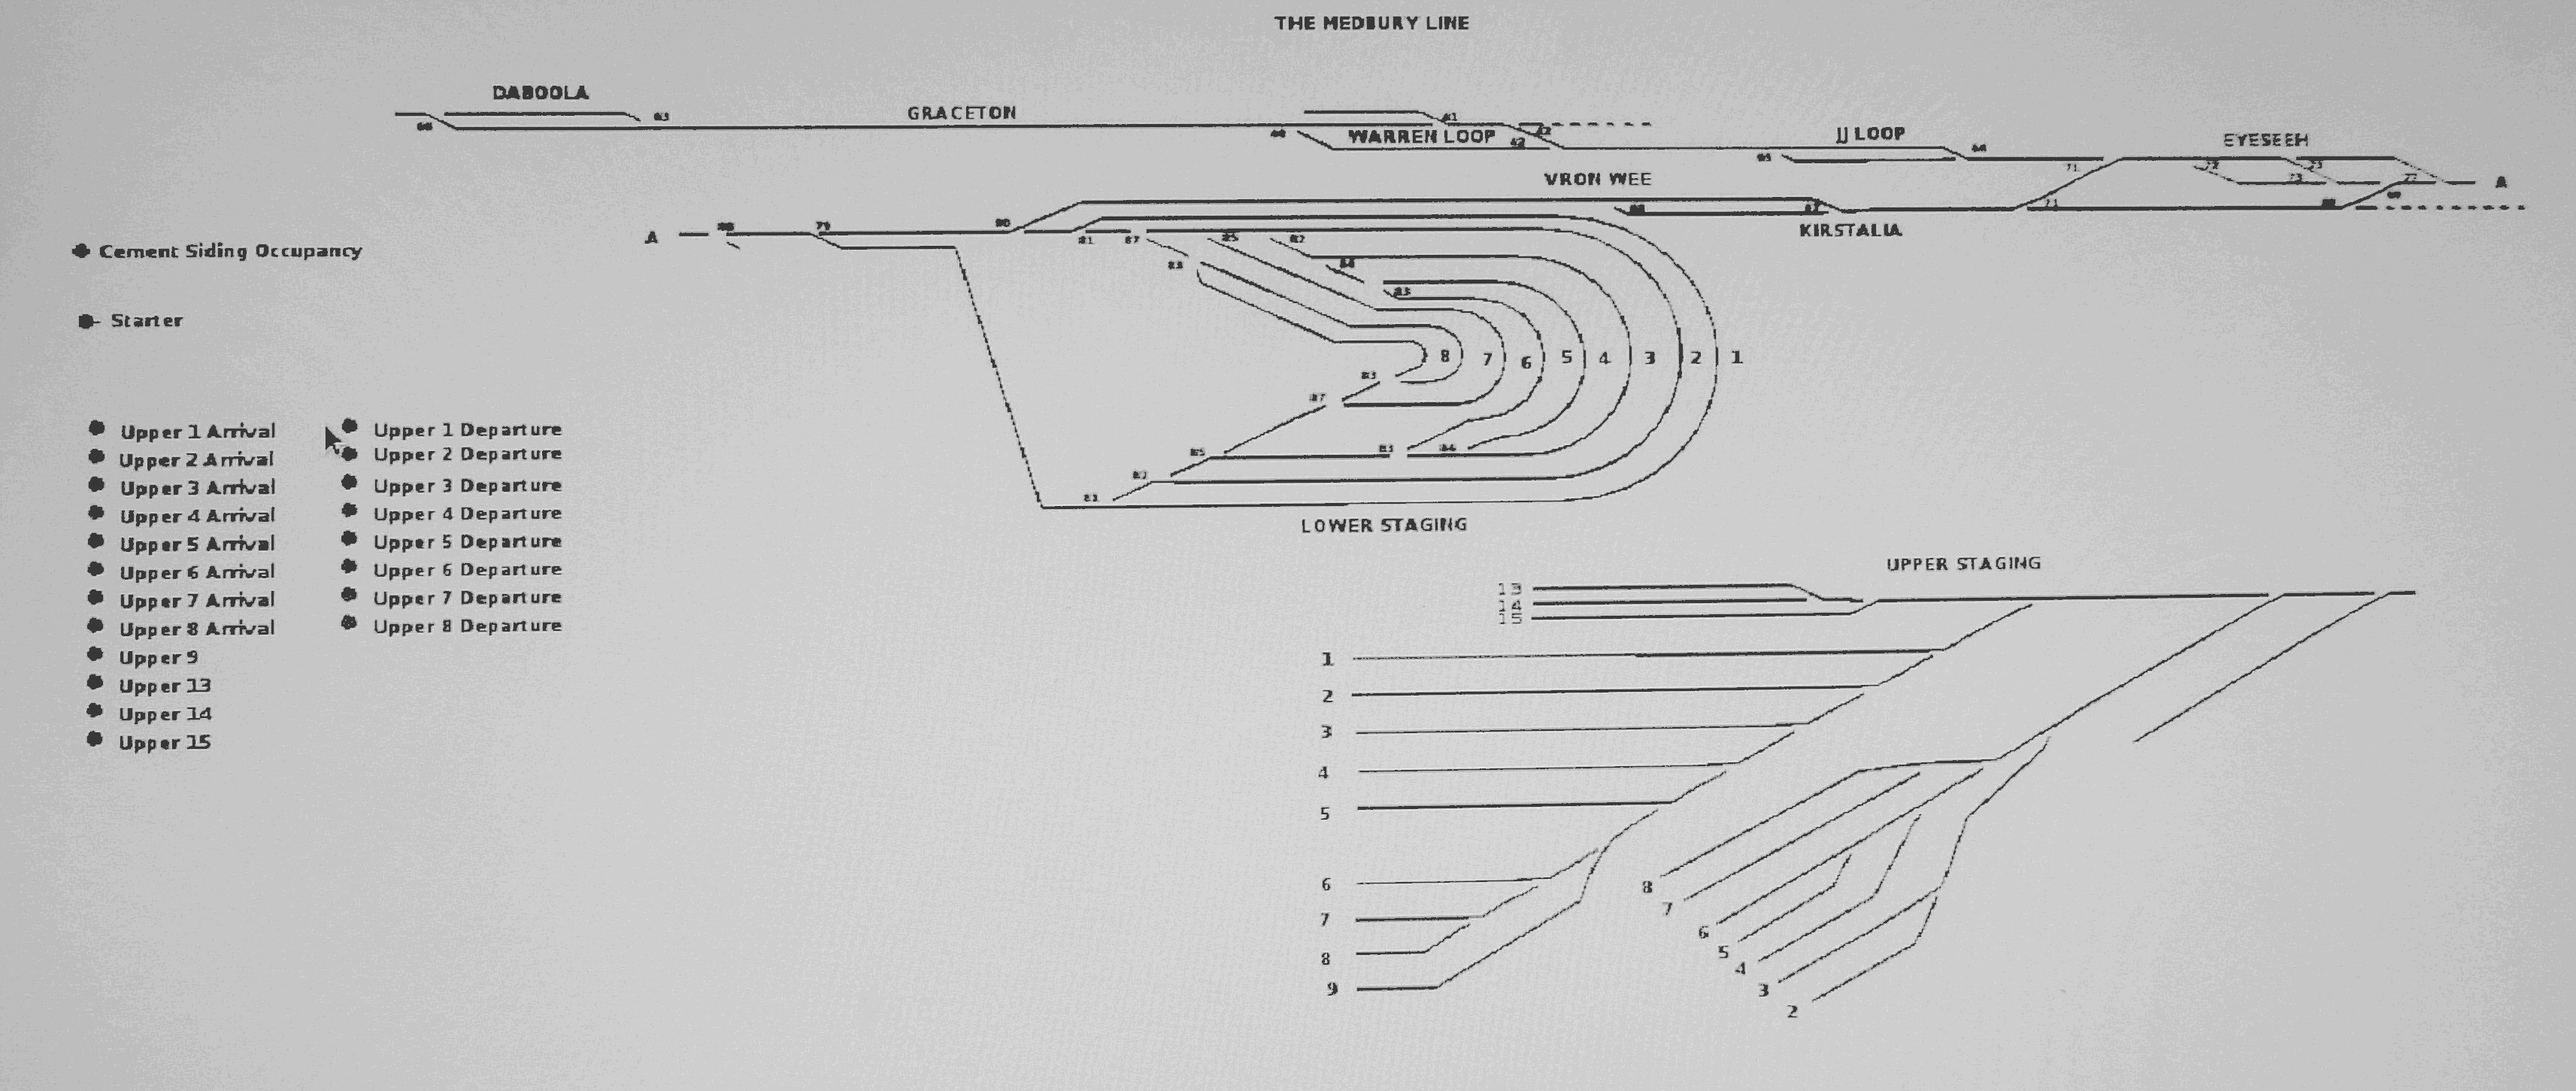
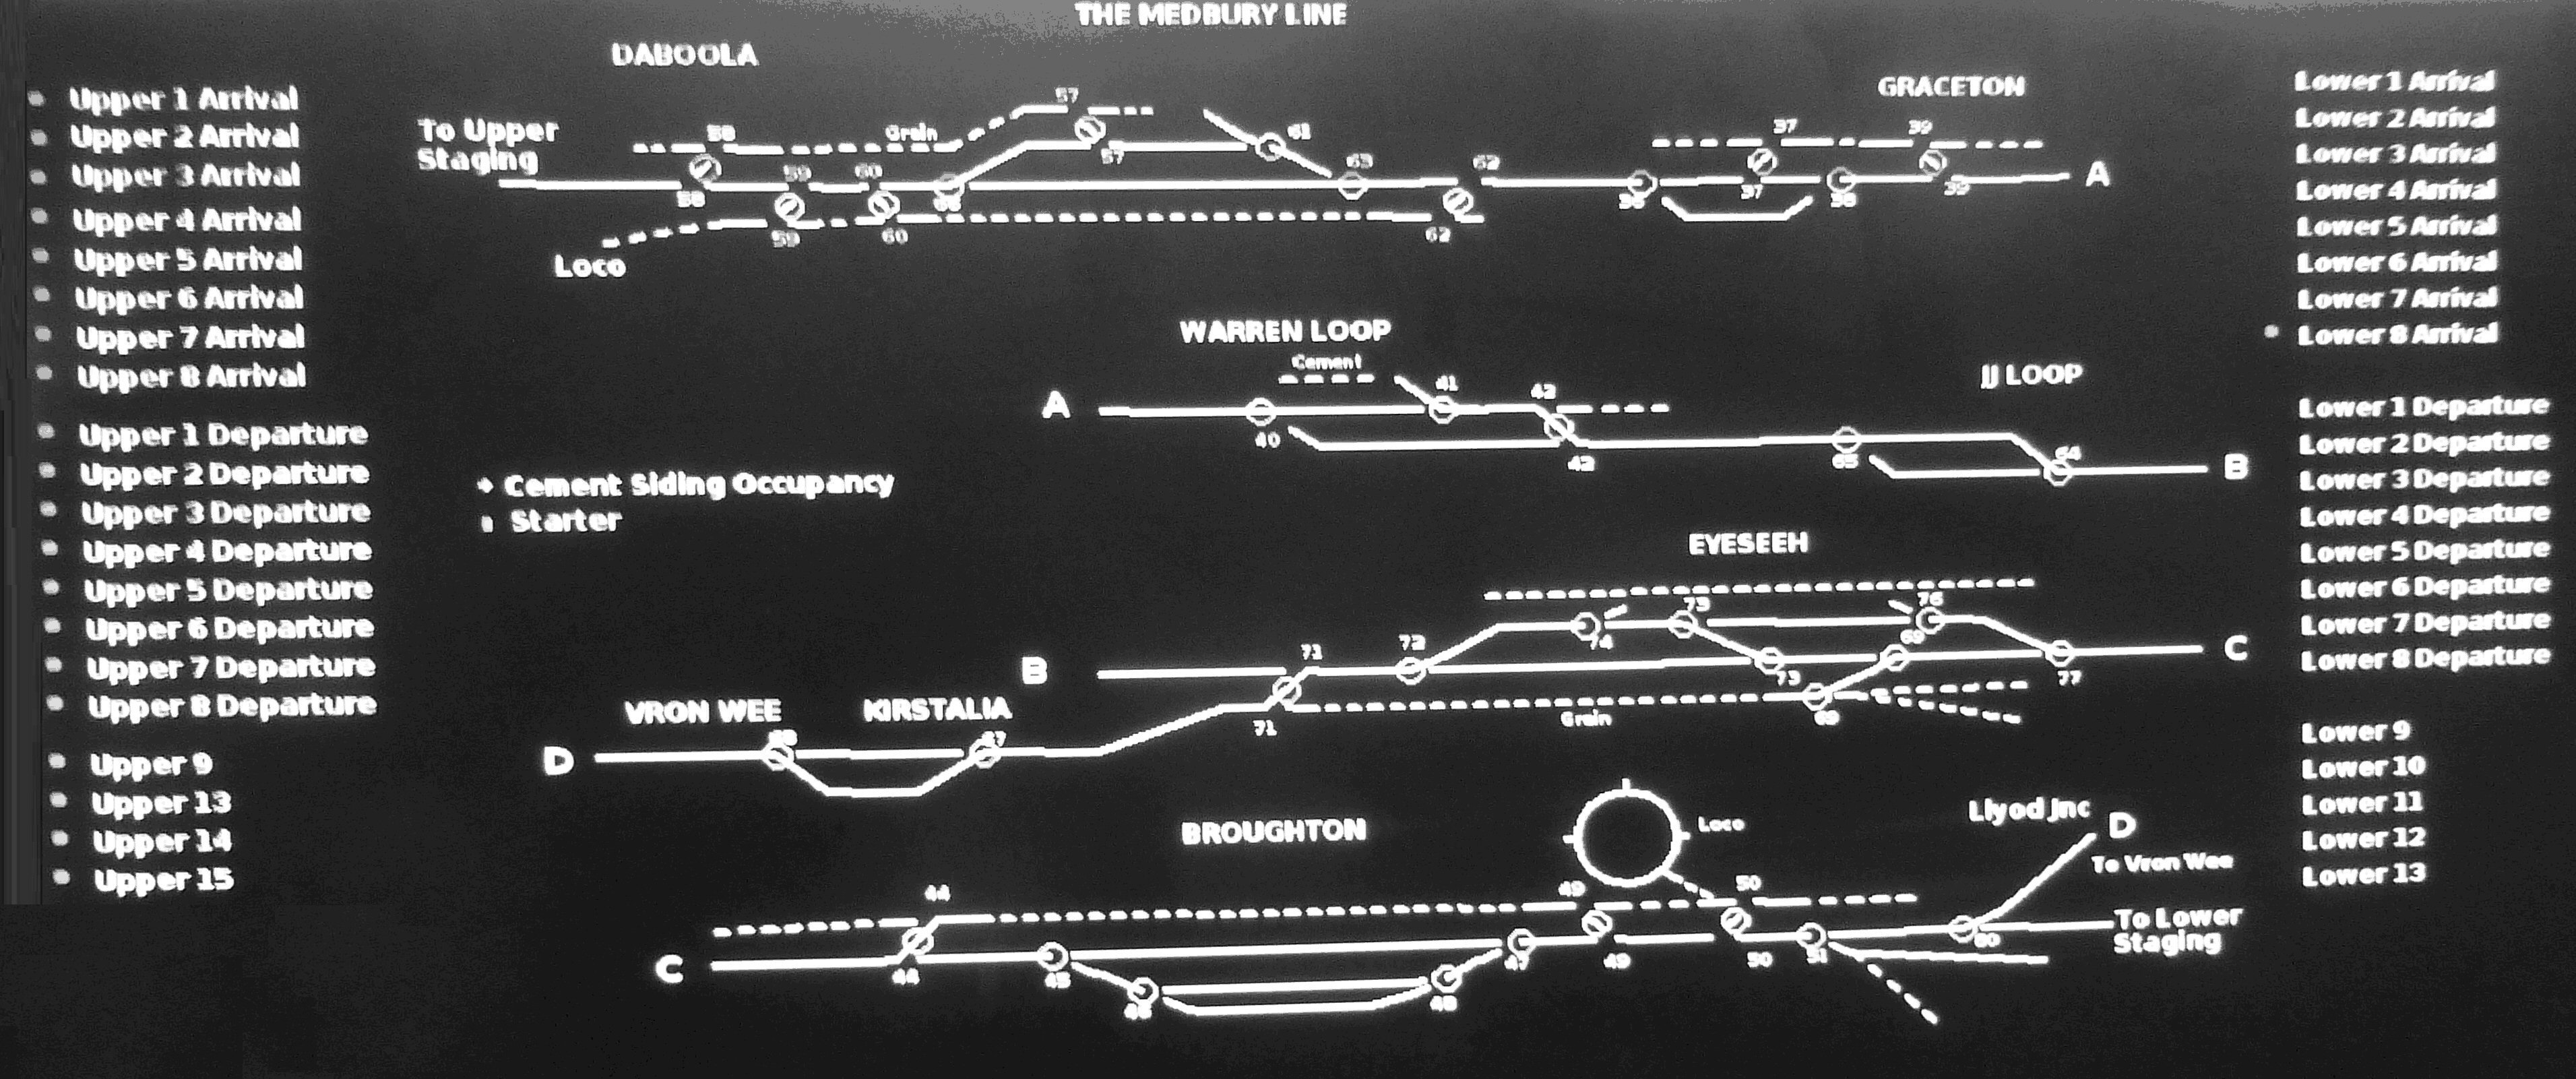
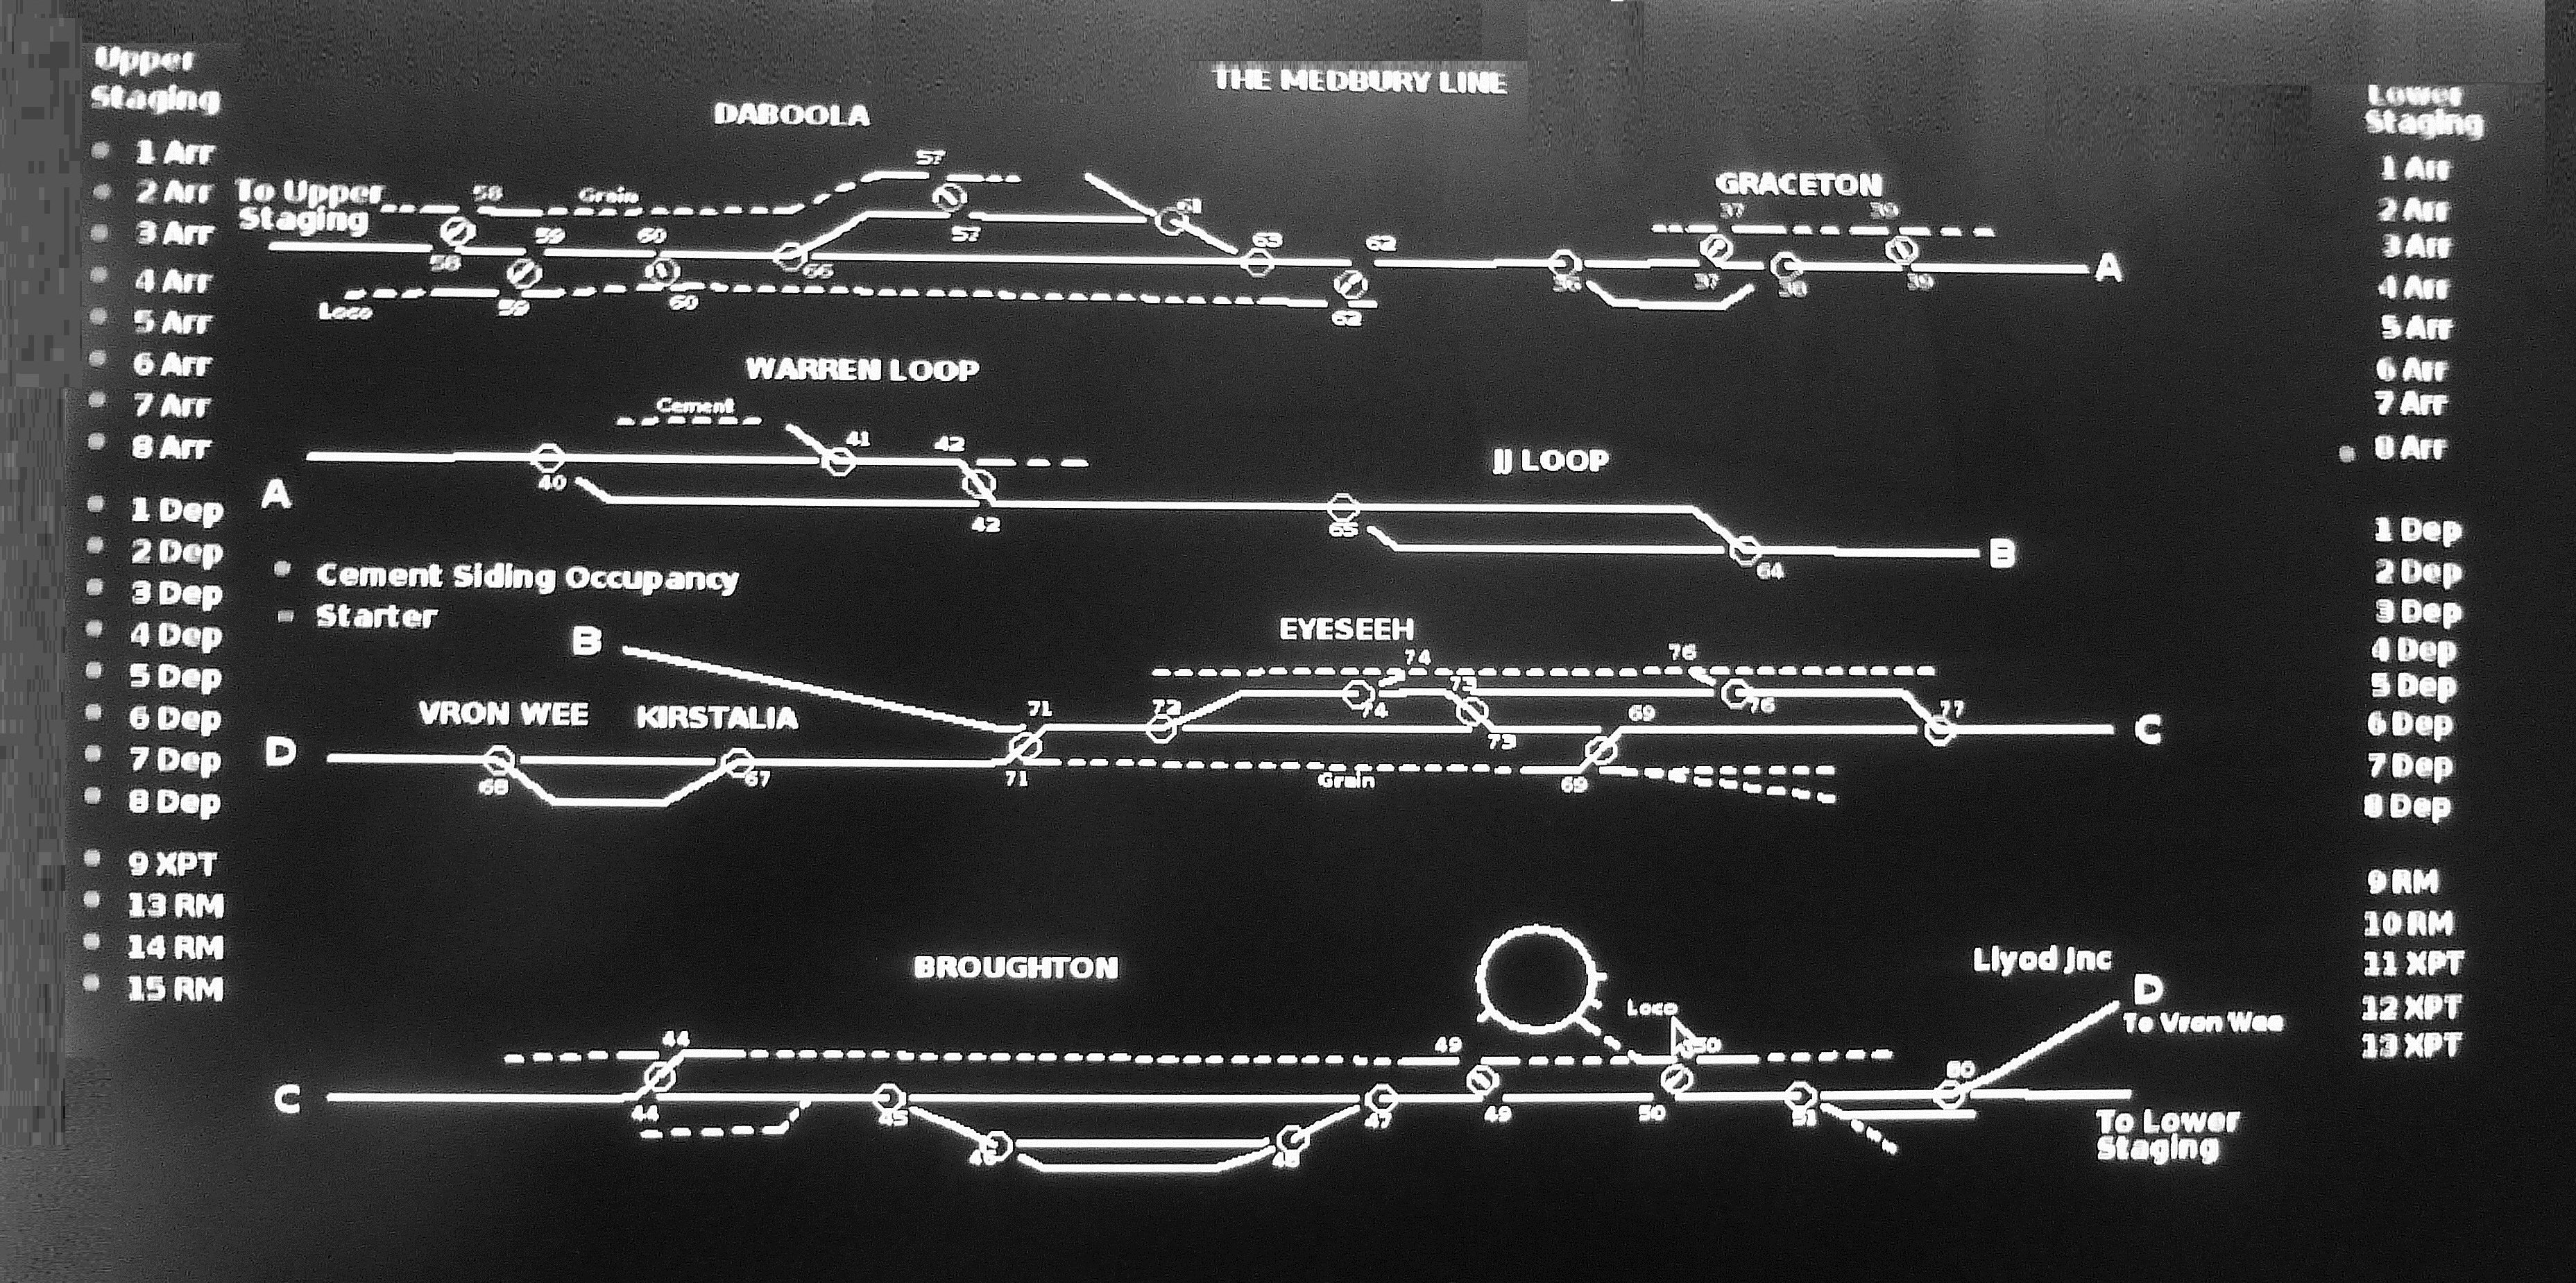
The last friday I were in Melbourne for the year Ben came over for a looksee and to do some experimentation with JMRI I showed how I could use a dummy point to trigger a route. He go stuck into the program and casme up with a elegant solution with nice clickable buttons to choose the route. He put in a lot of work working that out. Based on that I brought the Rhasbery PC up with me for holidays and copied his file so I could also play. I have made two variations. Both no longer have the staging yars shown, onl the routes either side. I have also shown ALL MAINLINE points on the layout and allocated them point numbers. So the diagram will be what the layout will be, not what it is. The monitor I'm using is a wide screen, and the real monitor is not so there will be some redoing once I return home. I have also generated the routrs for the lower staging, and tried one bit of programming to do one button as Ben did, until I get home, reconnect up, no idea if my efforts will work. I know Ben's stuff does work. We even put in a temporary signal to paul gallacher's hanging signal, and it works when you click ! A Friend saw a facebook post, so I roughly made a panel for his layout. Would not work as he has no DCC controlled points, but fun to show. |
|
|
| Photo time ! |
||
 |
 |
 |
 |
 |
 |
 |
||
Let's hope 2016 can see me employed, alive and with more to report on this Layout..... |
||
Page written & maintained by David Head. dthead@hotmail.com