
Back in 1998 I along with Andrew Mierisch, committed to exhibiting DVR at the 1999 Camberwell Model Railway show.
We didn't just want one loco there, we wanted a loco or three, video, and other stuff to show off DVR. Andrew had the knowledge to transport the locos and safely get them on display - I had my model railway bias, so decided to use that in form of a model railway despicting DVR in some form.
At this point I also involved Kevin Sangston. We then thought how to go about despicting DVR. The main impression was small locos with big people riding a railway like DVR. Why nor model DVR itself - well for starters it is very big. At the time Z scale was the smallest gauge commercially available yet expensive and limited as to what was offered.
So we decided on N gauge to represent DVR with O scale to represent full size. I used both 7mm people and 1/4 inch people ( which were more childlike and small). N gauge was a lot cheaper and far more was around, even some Australian prototype. Through the internet I contacted Rob Carpenter who even then made a presence in the hobby and since 1999 has product quite range of Australian N gauge. He agree to make out of his kits a 700 and a S class loco, but at the time he had no real S class in production, so I agreed for him 1:08 PM 18/03/2014to paint a GM class as a "S". Christmas 1998 I picked them up and also got a G class body as well.
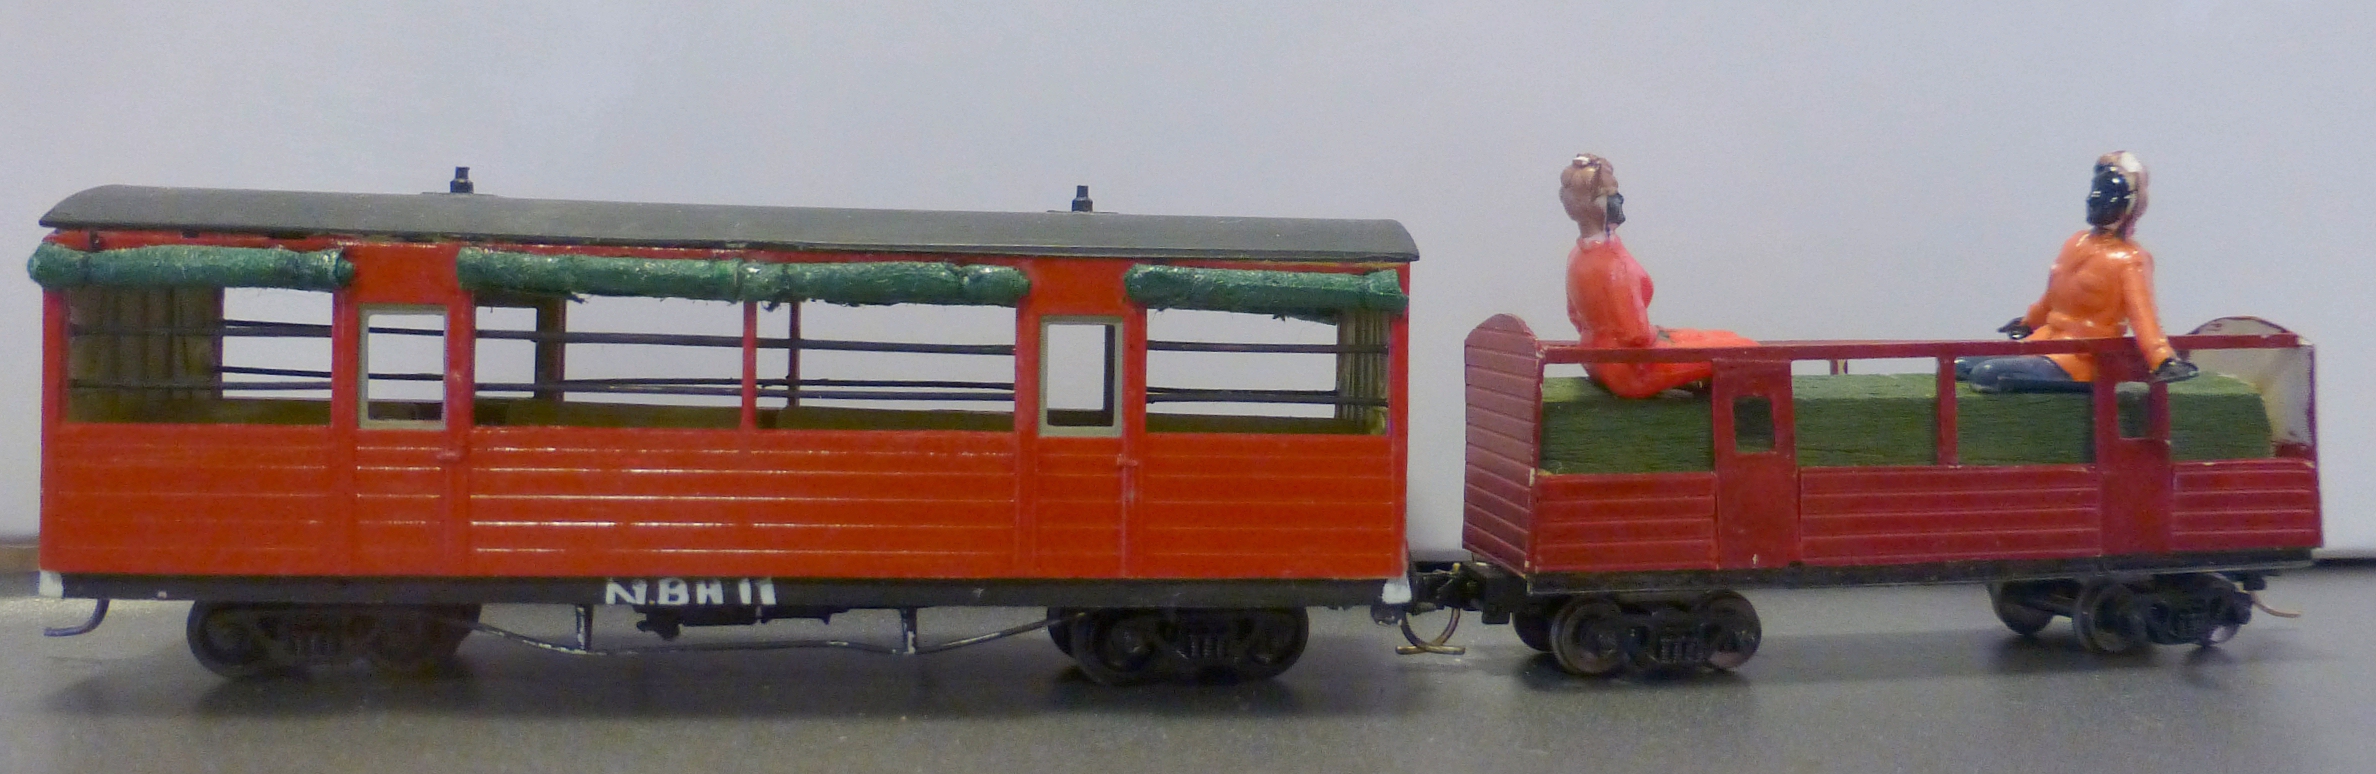
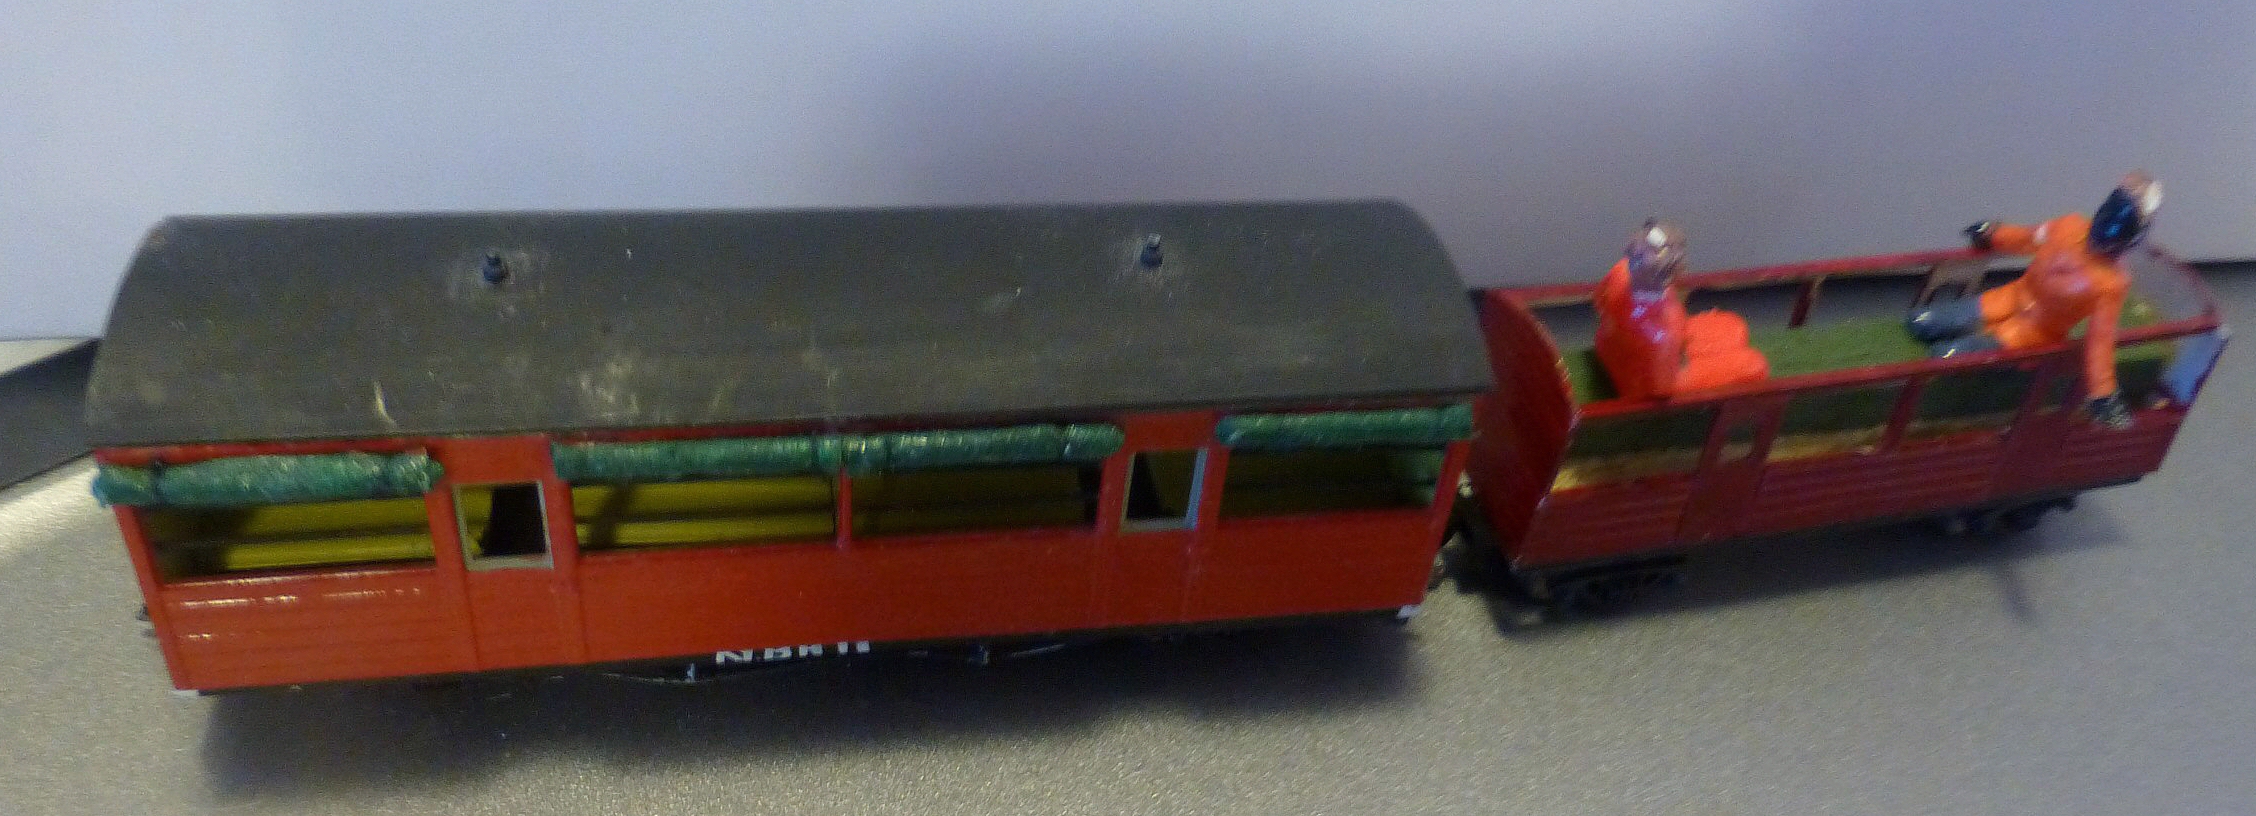
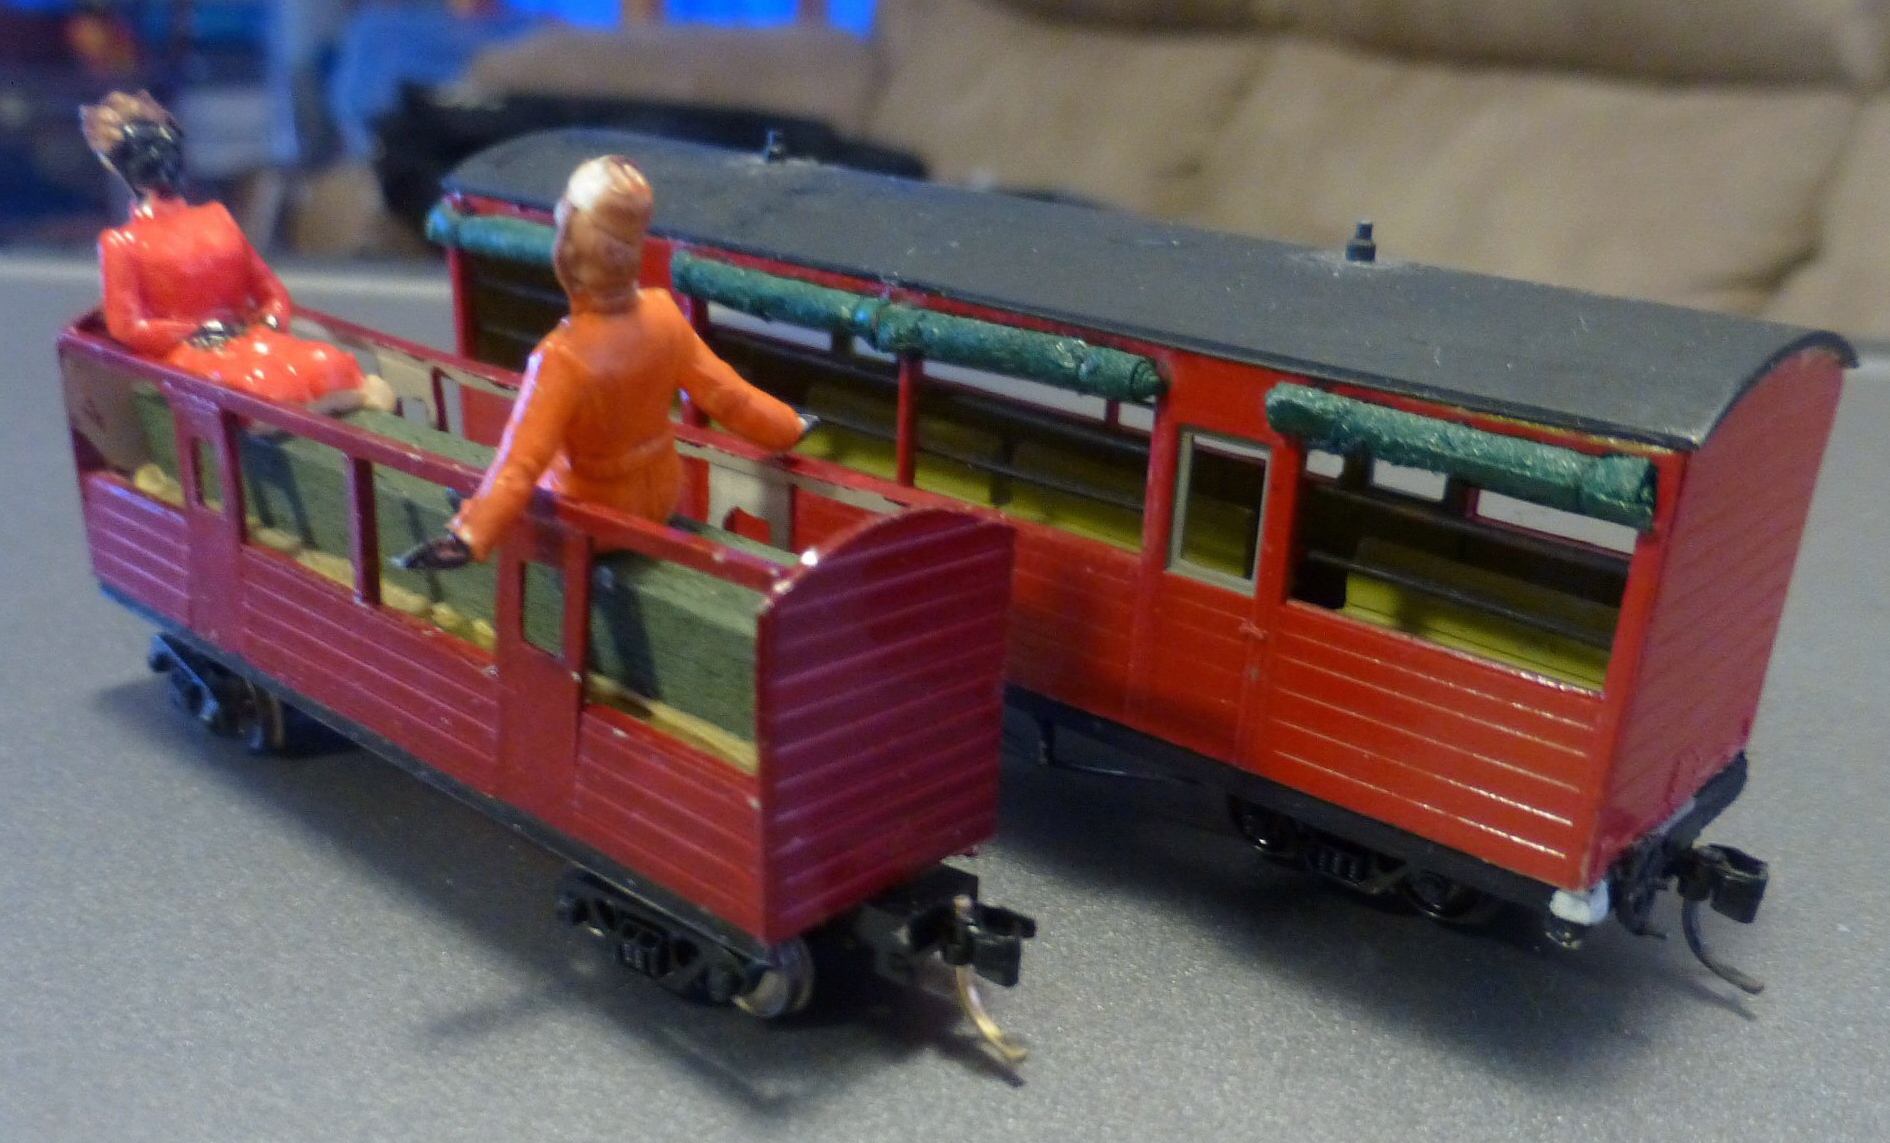
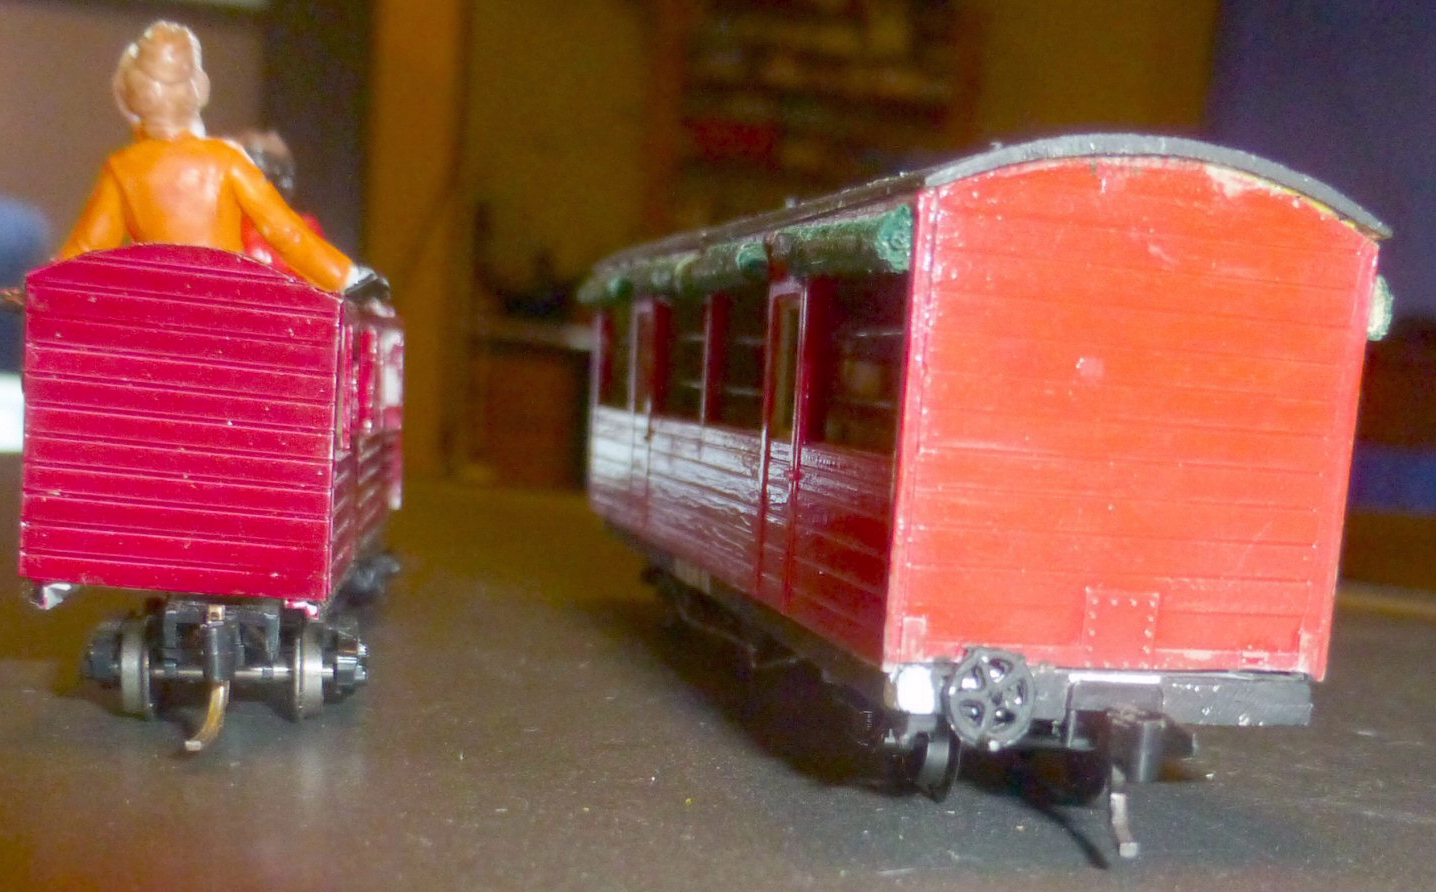
So I had the basic loco fleet. Now rollingstock. I had a HOn30 puffing billy NBH and got it out. Hon30 is HO scale of 3.5mm to a foot running on 9mm N scale track, 9mm rougly represents 2ft 6inches, like puffing billy. Well the NBH against the N gauge loco was far too big and long - 6 of those would be too long as well. So I needed to go smaller. So I made a rough plan and scratchbuilt my own N gauge NBH's to roughly match the profile of the N scake S class. Call them more suited to be on z scale bogies. These gave the train 6 carriages without being too long.

The layout at a glance ----------------------------------------------
- Name of Railroad: Meadmore Junction.
- Scale: O (1/4 to a foot)
- Gauge: 9mm
- Size of Layout: 8 x 3 Feet.
- Prototype: Diamond Valley Railway.
- Period/era: 1999.
- Layout Style:classic tabletop.
- Layout Height: 2ft high.
- Benchwork: Open Grid.
- Roadbed: 6mm Ply track base.
- Track: Peco code 80 N scale track. Shinohara N gauge points.
- Length of mainline run: 20ft.
- Minimum curve radii: 13 inches.
- Maximum grade: 1:45
- Scenery construction: All forms but lean towards Styrofoam, as little plaster as possible.
- Control: DC control with some automation.
- Starting Date: 1998
- Completion Date: 1999

To weigh them I decided to do what the DVR's NBH's did, having a removeable floor and seat. In m case the floor was a bit of brass acting s the floor and weight. The seat is just painted balsa. These worked well so I then made some BG's the same size to allow interchangeable seats. More on rollingstick later.
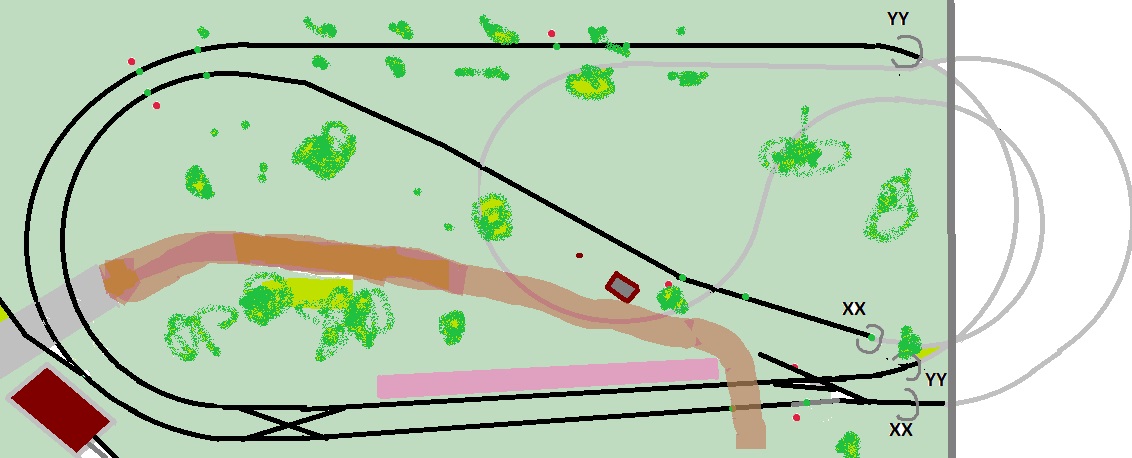
Back to the layout. We decided on a compresses representaion of Meadmore Junction. No need to stop trains and not too complex a layout. The layout had to be small enough to transport. I was going to be setup very low to allow our Stars of a show to be seen, the real DVR locos. The layout was to be a folded and twisted loop, no staging, no shunting, no sidings, purely a procession of train running non stop.
One desire was to see the train run true to the layout of DVR. The Real DVT sees trains leave Diamond Valley station ,pass close to Meadmore Junction and thence to Pine Creek on the outer circle line ( not modelled). They first appear out of the big Tunnel, then through Meamore Junction. They then head onto the "up Through" line, to reappear down the "Inner Circle" then finally to head through the Small Tunnel to Diamond valley station. We model meadmore juntion from the tunnel tot he small tunnel. We do not show any of the rest of the system with pine creek section not done at all.
So to save space and keep the trains doing the right trip I had to add a hidden loop under the layout. The track has to do a reverse loopand cross under the visible track above, a significant time unseen. This has a interesting impact on people watchin in not knowing where the train will com out from. this loop helped keep the layout to 8ft by 3ft.
To build the layout there are two modules, one 3x3ft, the other 5x3ft. The 3ft module was very easy to build a simple frame and top board. The 5ft was harder to cope with the hidden trackage. Kevin Sangston ensured we built this module a different way. The module had it's outside frame and had it's cross braces of 1x2 pine all positioned at the botton of the frame. We simply use risers up to the trackbase, allowing all the grades etc. It was very effective.
Track is Peco code 80 track. Points are Shinohara, all nonoperating and cosmectic. Tony Gatt assisted in tracklaying, ensuring the layout and especially the hidden trackage would be reliable.
The basic scenery was started next. White foam sheets were used to fill in the spaces not track based. It was a weight consideration and ensured not a lot of plaster was used, the layout would be moved a lot. It was my first use of foam. I used some of that expanding foam out of a spraycan too to fill in gaps. Basic scenic materials was used with woodland scenics used extensively. Trees were simple trees. A lot of detailwas missing, fences, signs, signalbox etc....
We were running out of time in a big way prior to the show. a lot of tings were not done and the layout misses the Signalbox. We put in many days work including a all night working session the day before setting up. That was a interesting day as Kevin had only just installed the scissors crossover overnight, and another friend came to help, but took my keys to work leaving me stranded.
Well, it made it to the show and worked well enough. Since that show the layout has appeared many times. I often got the comment on how good it was for the children who could see it due to it's very low height. Another thing was the reaction of Other DVR members. For it despicted the railway in two different points in time. one end represent a ealier version of Meadmore junction, the tunnel end another..
I'll say now, amonst al the text written that this railway is owned by me, paid for by me, and DVR has not paid any money it it's development. It is purely my contribution to DVR's publicty.
Like DVr the layout is not finished. It has evolved. Early on I found a small electronic circuit which I used to protect the long tunnel/hidden trackage. When a train enters the tunnel it then turns off a small 40cm length of track, known as a stopping block. So if another train gets too close it will stop until the train ahead is almost out of the tunnel. It is a great circuit, but no longer availible - I orginally got it from Trainworld and that's the last I have seen of it.
so, over the years and the many shows things were done here and there. The signal box was built, trees added, and an attempt to do a rewire started.
Rollingstock has grown over the years. As have some problems witht he carriages I built. They seem light and derail happy. So I made the seats with thicker brass and then built a KATD set by printing paper printouts of a KATD and sticking them to the sides of the basic box. These have worked quite well. I have also used many RTR N gauge wagons as well making a seat to fit. One american caboose I cut out and put in a seat and guard. Normally I just temporarily bluetack a "drive" onto a loco which mean any N gauge loco can be used.
So the locos have grown, some of DVR based locos like the 8792 milawakee road, and many which aren't - however one should never discount a one day idea, so I can use any loco I wish.
Scenery has mainly been tree based, as the original deteriate. That is aproject to be done. Recently in 2014 I borrowed some fine trees from a fellow modeller, which improved the layout's image no end. There is still alot to do. Fences, signs, a small rotunda looely based on what is at DVR, need to rebuild the stairs up to the signalbox as well.
signal wise the signals need some work to get them working well. the level crossing flasher needs replacing with a bigger one.
Te trick is the electronics in terms of work to be done. At the moment 2 train can run quite well. But three often saw one train catchin another. the layout had some extra track occupancy detectors added to allow a reaosnable 3 train setup. The aim is 4 trains at once - the reason is to make it look busy as DVr really can be.